As a rule, I keep and view every artwork I own inside a frame. Protecting a work as much as possible from various threats — dust and grit, airborne debris and oils, sunlight and lighting — is, I think, the bare minimum a collector should do.
I fundamentally regard artworks as pieces I am “holding in trust,” so I want to treat their storage with care. The mindset of protecting important works and passing them on to the next era matters, too.
Until now I had the gallery where I bought a piece handle the framing, or I bought a frame at an art-supply shop and paid a fee to have it framed. This time, I decided to do the whole thing myself.
Buying the Frame
Choosing a frame usually means going to a shop and matching the work against frames in person, but this time I already had a clear image in mind, so I decided to buy online.
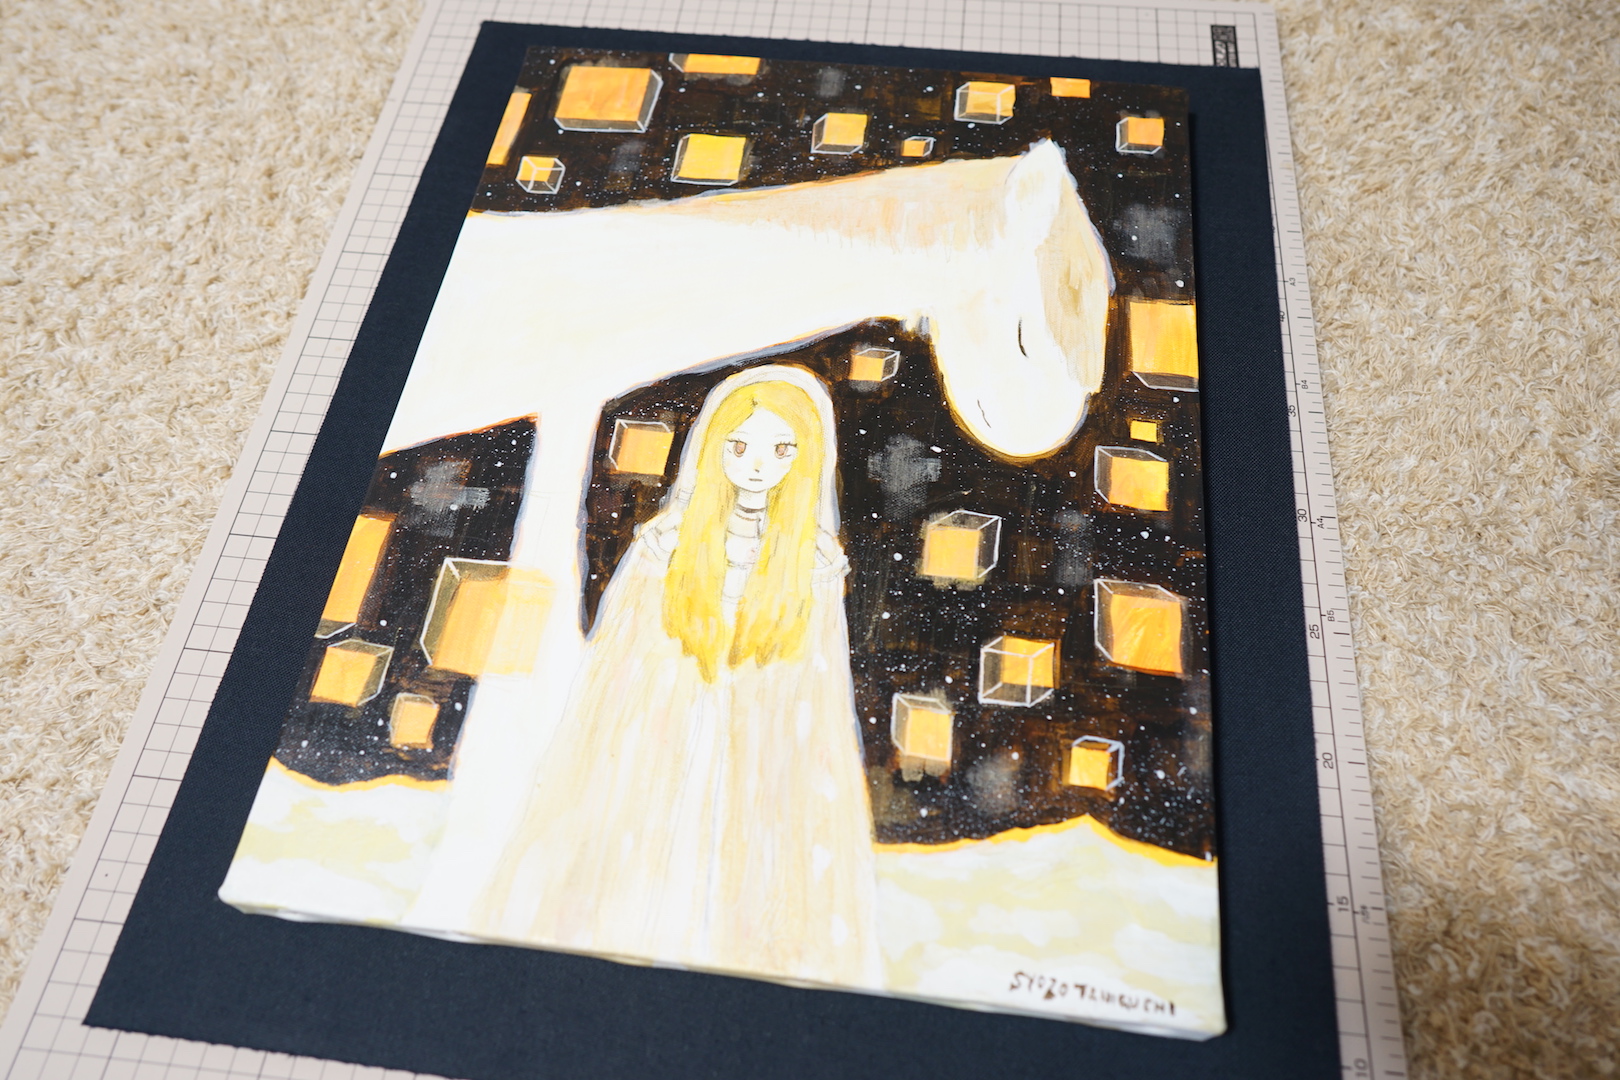
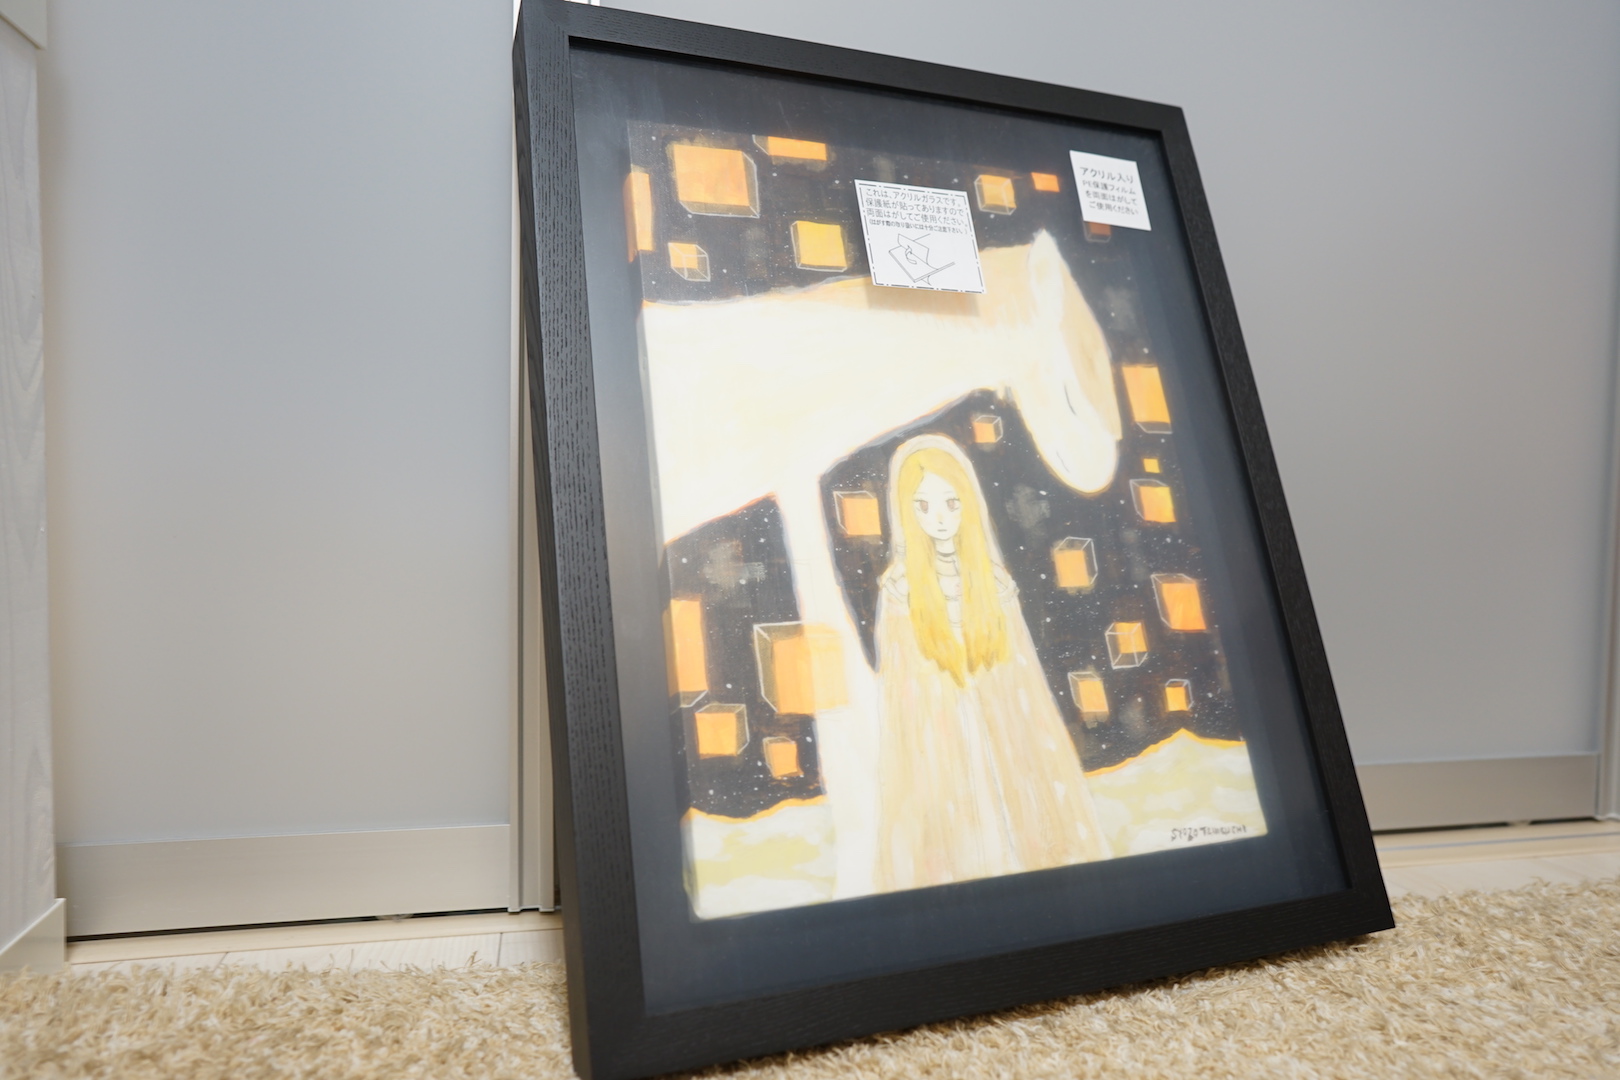
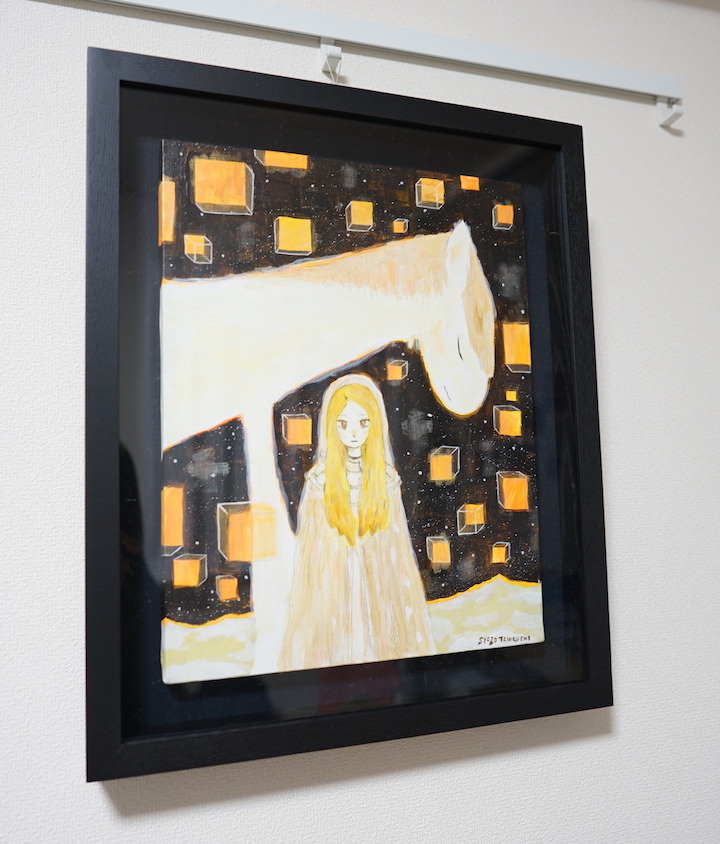
That’s because the work I was framing this time — “oraange” by Masazo Taniguchi — has imagery extending onto the sides of the canvas (the outer edges), so parts would be hidden in an ordinary frame. After considering how to show the whole thing, sides included, I chose a three-dimensional mount in a “box frame.”
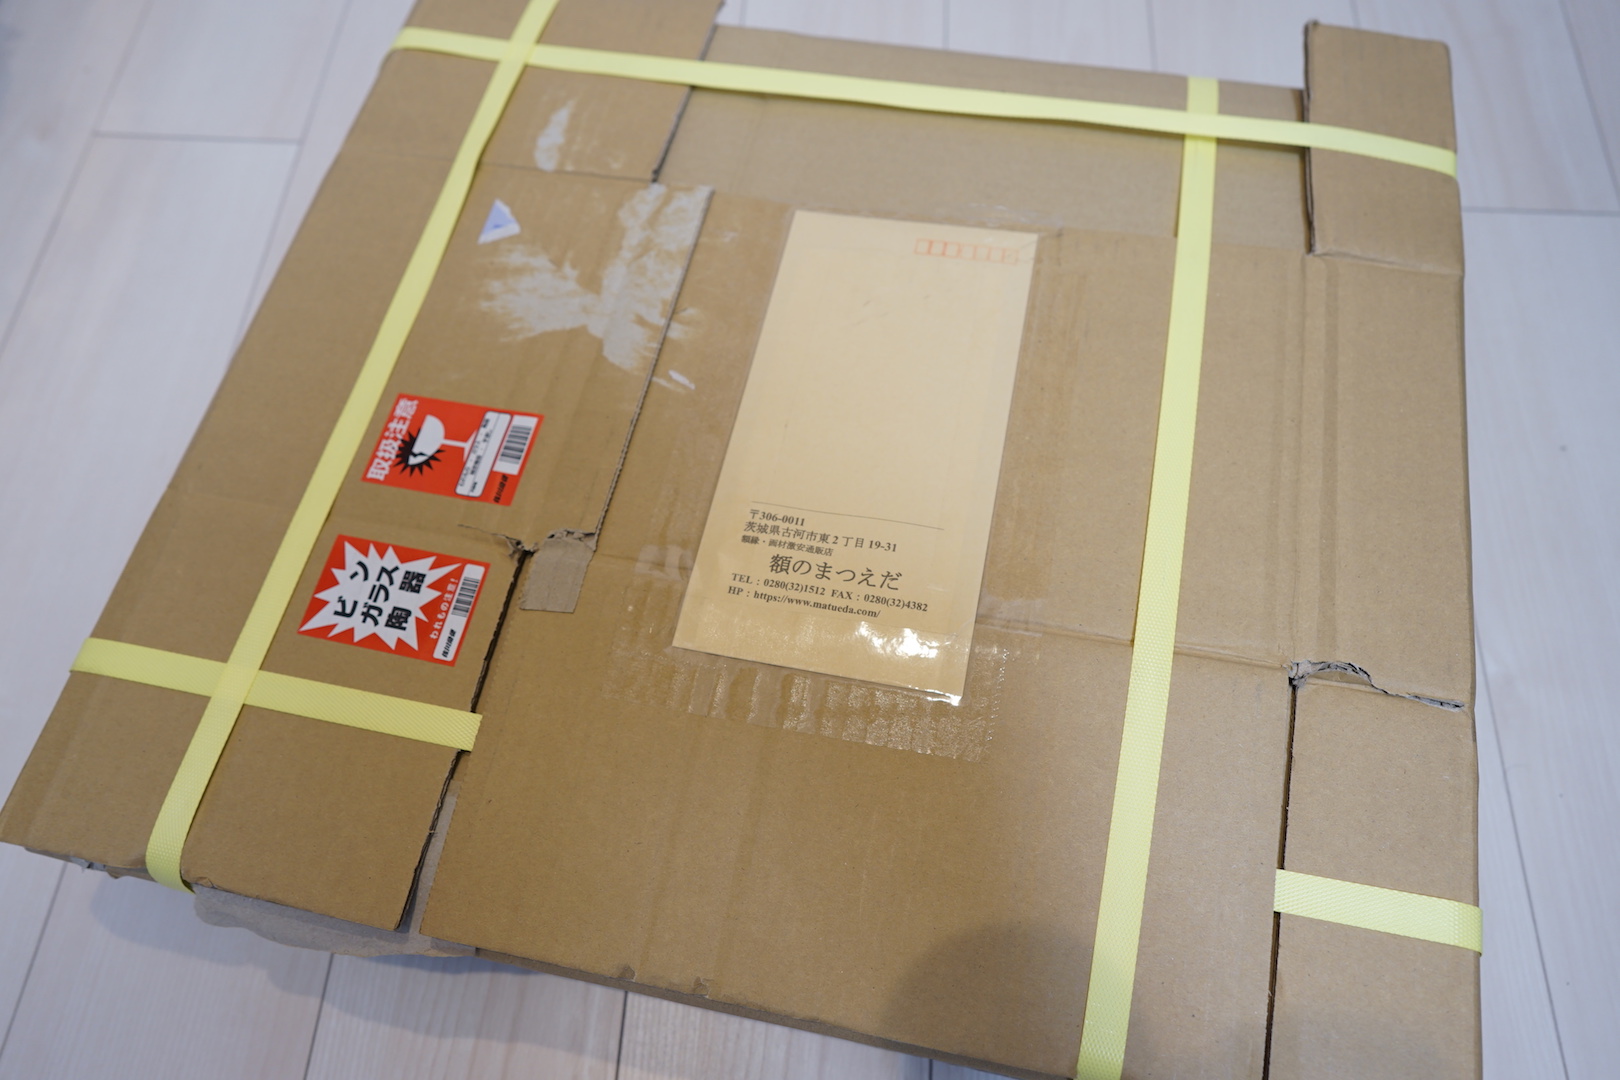
For the shop, I went with “Gaku no Matsueda,” famous for low prices and speed. It’s a solid 30–40% cheaper than the shop I usually use — a real bargain.They shipped it the very day I ordered.The frame arrived just two days after purchase. “Gaku no Matsueda” is fast and dependable.
Getting Started
Now the “DIY framing” begins. The main focus this time is how to secure the work.
1) Measuring
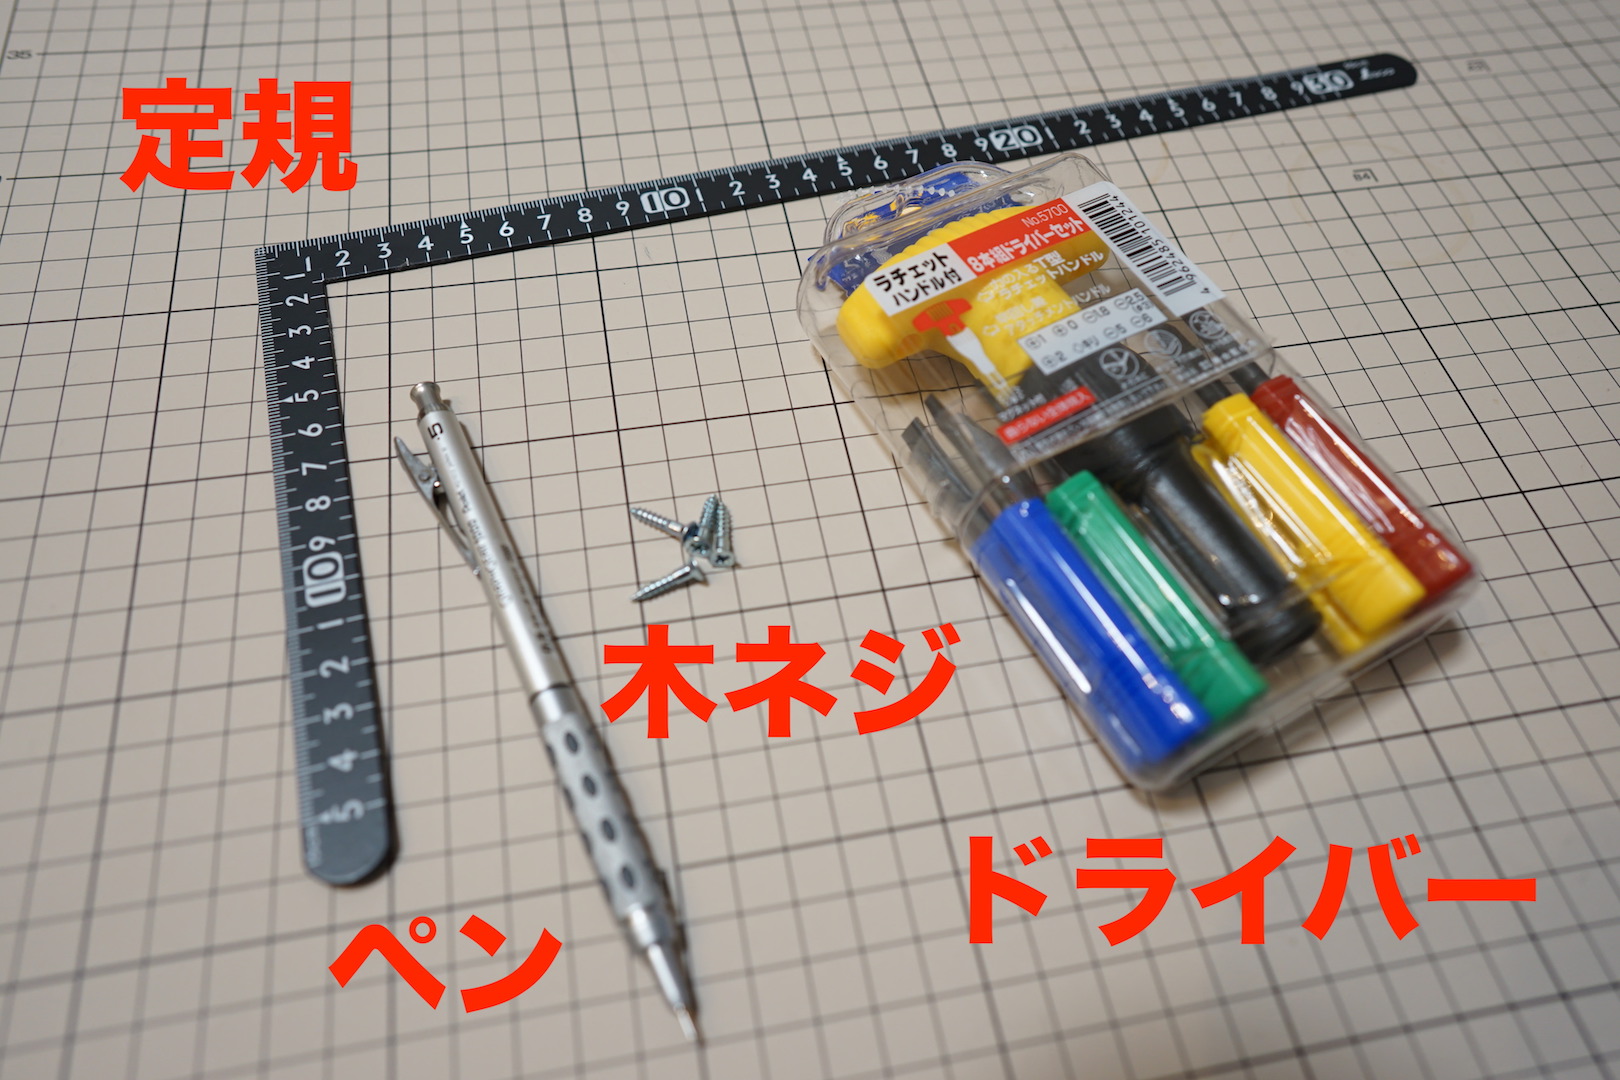
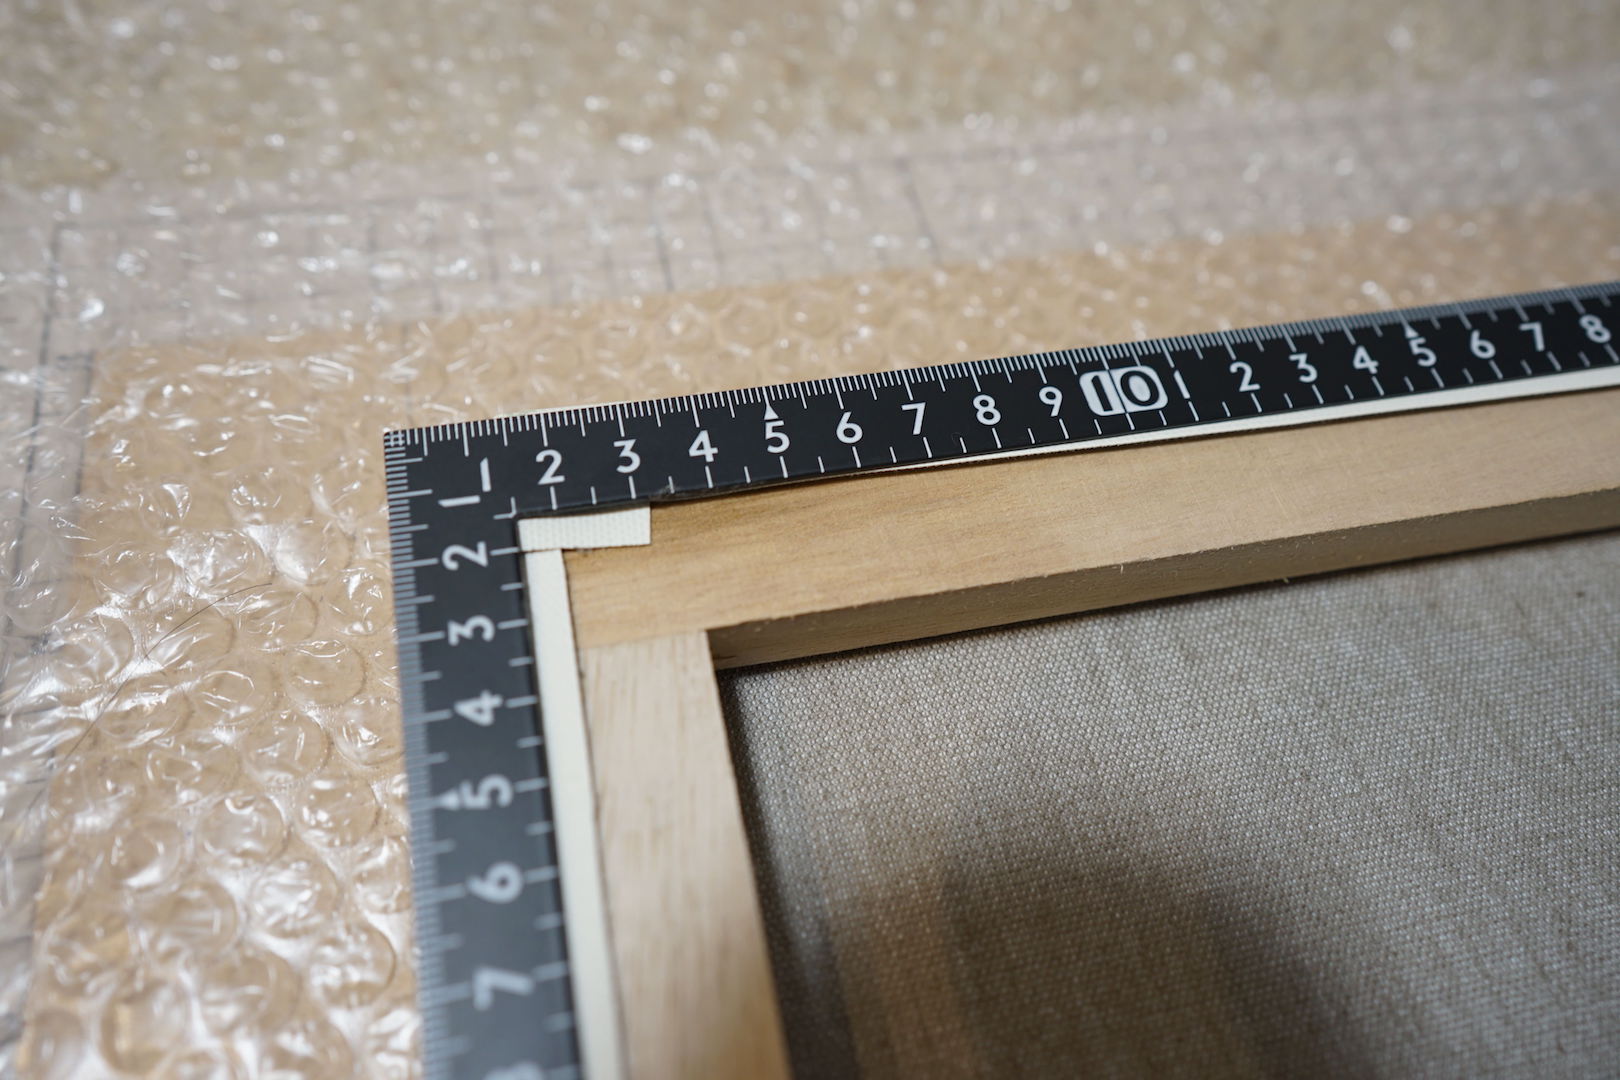
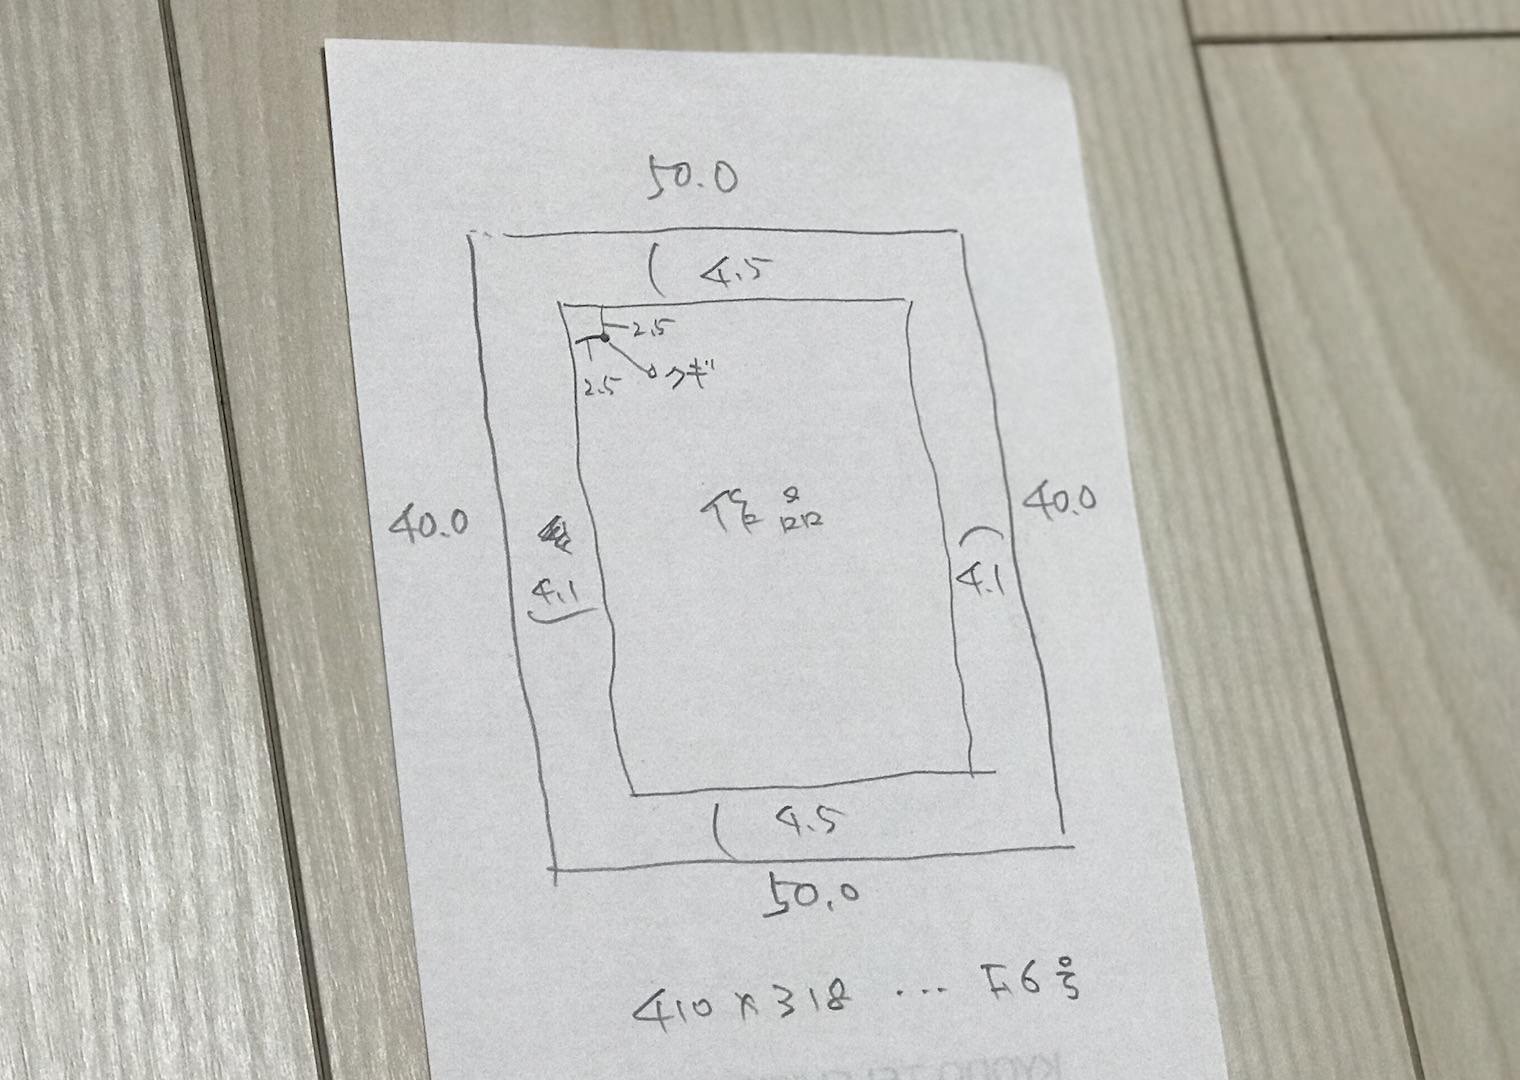
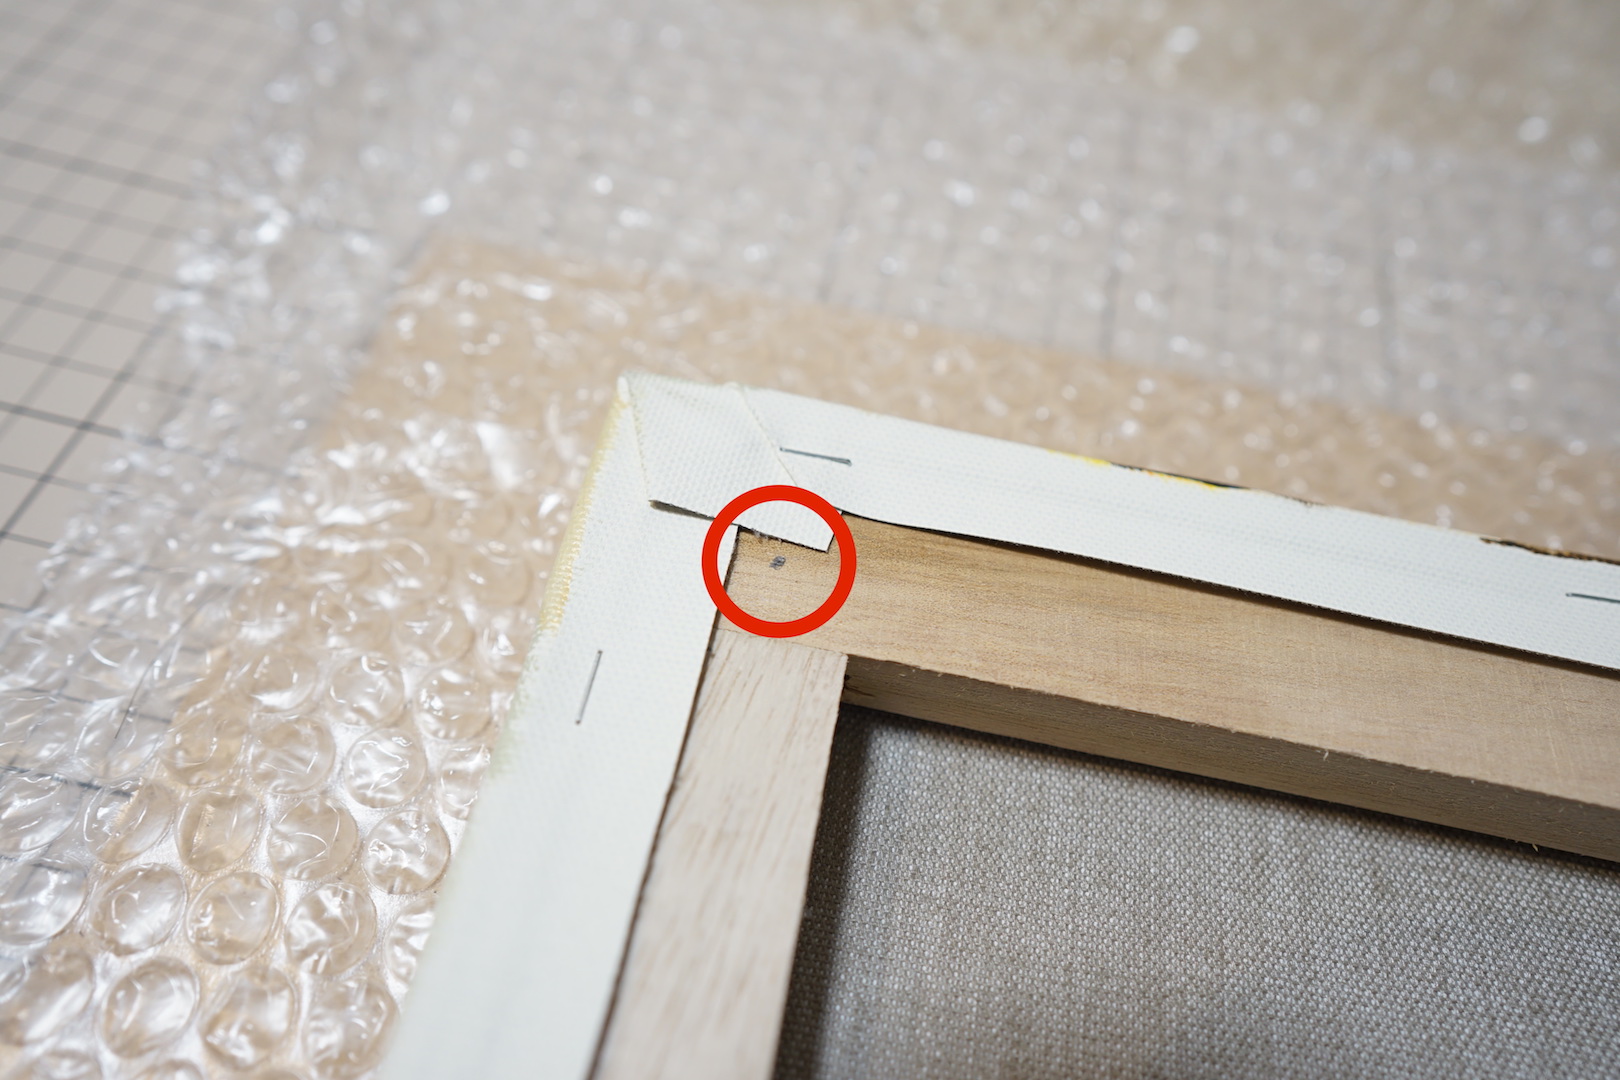
Check the sizes of both the mounting board and the canvas, and decide where the screws will go. I checked the canvas and board over and over, working carefully.A carpenter’s square comes in handy.Just to be safe, I mapped out the relationship between the work and the mounting board in a memo to avoid mistakes.Jotting it down helps confirm the layout.I also set the screw positions where they wouldn’t catch on the canvas fabric.
2) Marking the Mounting Board
This time the frame is black, so the front of the mounting board is black too, which made marking a struggle. A chalk pen might have worked better.Mark accurately so nothing ends up misaligned.
3) Driving the Screws
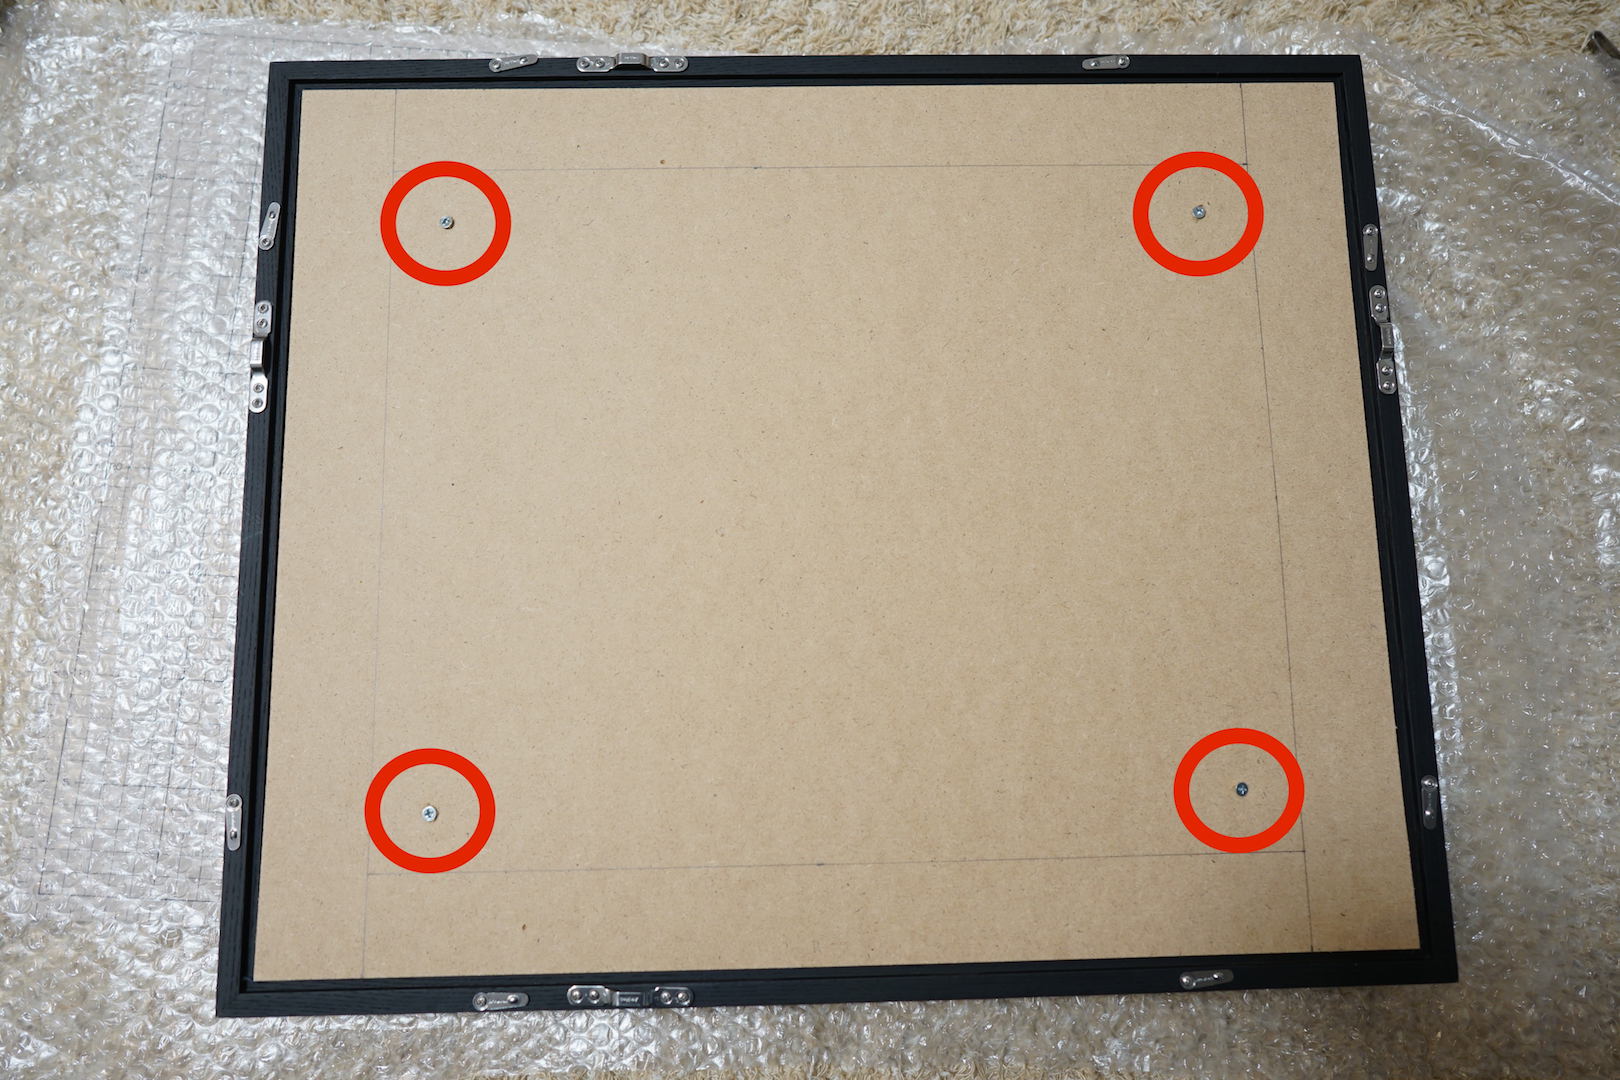
Place the mounting board over the work and drive in the screws. Some people use double-sided tape so things don’t shift. Be most careful here!This time I used four screws. You could adjust the number to suit the size of the work.
4) Checking
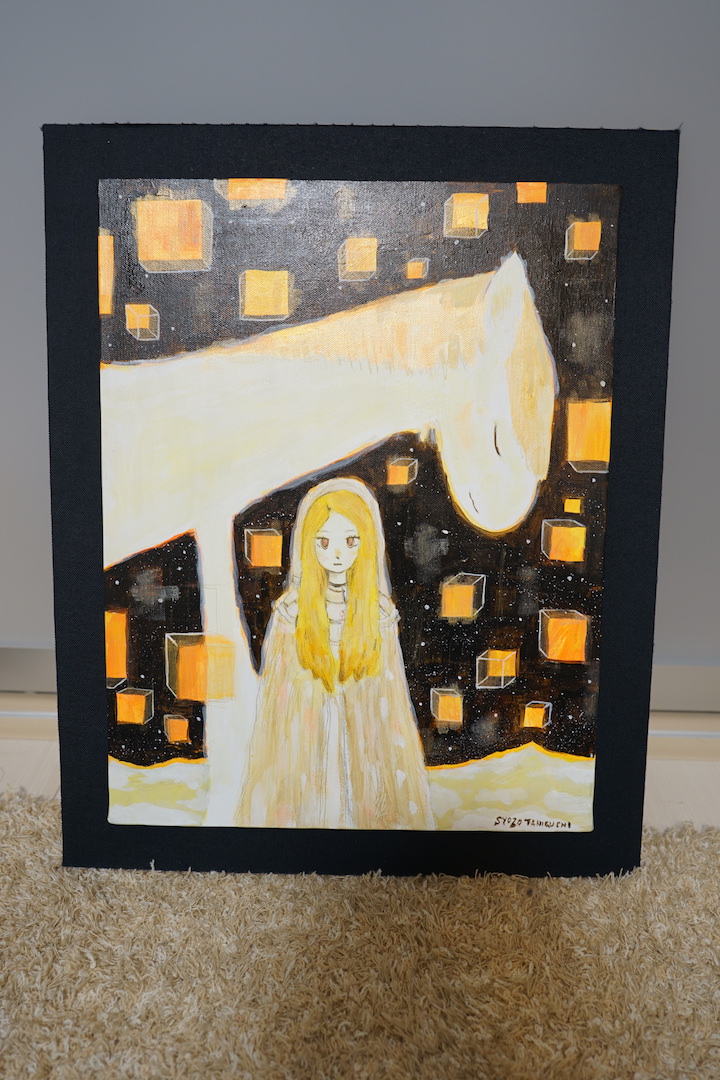
Once the screws are in, is it firmly secured? I also check the left-right and top-bottom balance.Check and check again…Just to be sure, I set it into the frame to check. As I’d hoped, it’s mounted so the outer edges stay visible even when viewed from an angle.Carefully making sure it isn’t misaligned…
5) Placing It in the Frame
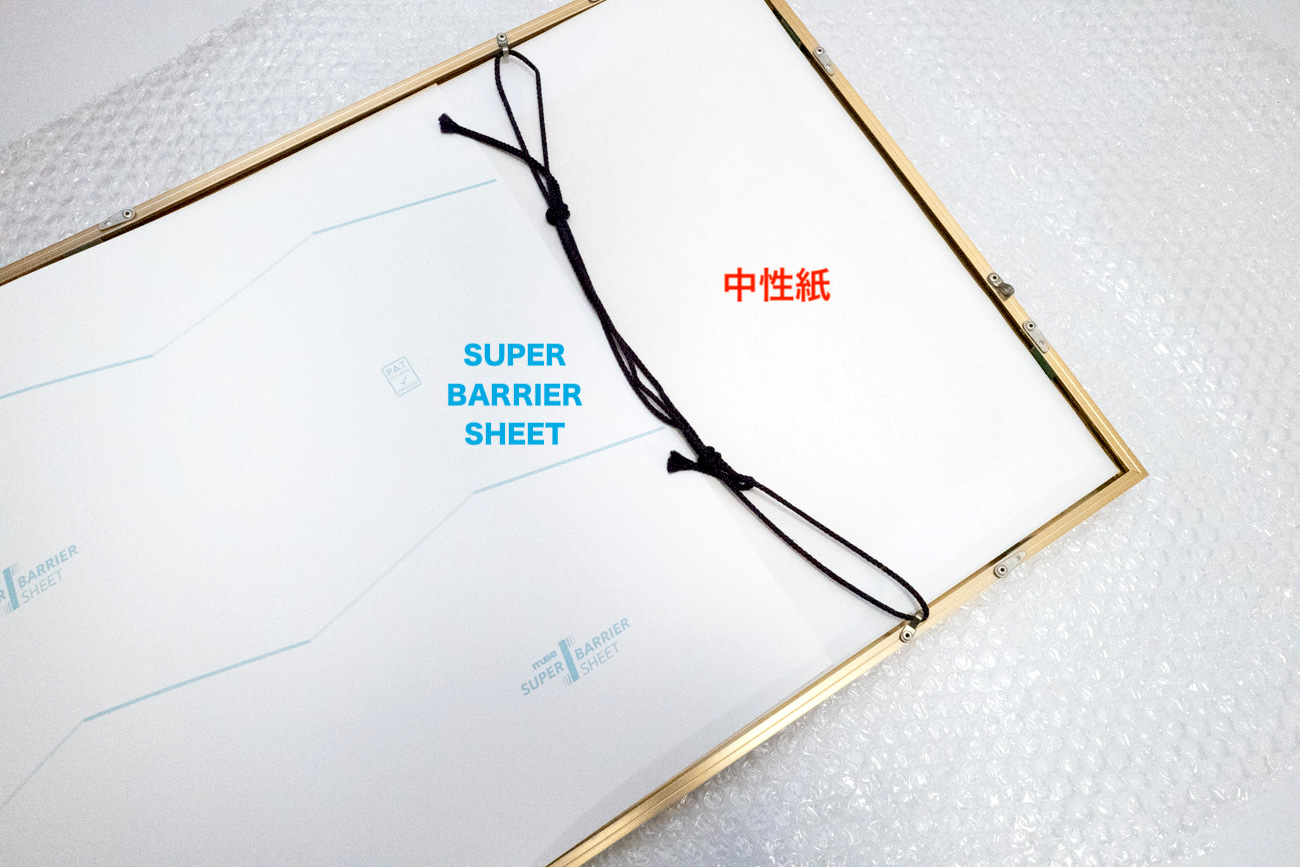
Once it’s firmly fixed to the board, it goes into the frame. Peel the protective film from both sides of the acrylic sheet, taking care not to let dust in. Return the acrylic to its place, set the work inside, close the back cover, and framing is complete.
6) Tying the Cord
Once it’s framed, tie the cord on the back. This video was a helpful reference for how to tie it.
https://youtu.be/Arypb0OjSTQ
Done!
It’s finished!
The framing went off without a hitch.Once framed, you really feel the work come alive.
In Closing
Framing was something I’d always left to others, but doing it myself takes real effort — and yet the sense of accomplishment and satisfaction is considerable. Cost-wise it saves the fee you’d pay an art-supply shop, and I sourced the frame cheaply online as well.
More than anything, I got to savor the weight of framing, with my own hands, a work I had welcomed into my collection.
필자가 소유한 아트 작품은 기본적으로 모두 액자에 넣어 보관·감상하고 있습니다. 먼지와 티끌, 흩날리는 쓰레기와 유분, 햇빛과 조명 등 다양한 위협으로부터 작품을 최대한 보호하는 것—컬렉터로서 최소한 해야 할 일이라고 생각합니다.
아트 작품은 기본적으로 ‘맡아 두고 있다’는 의식을 갖고 있어, 보관 상태는 신중히 대응하고자 합니다. 소중한 작품을 지키고 다음 시대로 이어 간다는 의식도 중요하다고 생각합니다.
지금까지는 작품을 구입한 갤러리에 액자 작업을 부탁하거나, 화방에서 액자를 사서 작업비를 지불해 맡겼지만, 이번에는 끝까지 직접 하기로 했습니다.
액자 구입
액자 선택은 보통 매장에 가서 작품을 액자에 맞춰 보며 고르지만, 이번에는 마음속에 확실한 이미지가 있어 온라인으로 구입하기로 했습니다.
이번에 액자에 넣을 다니구치 마사조 씨의 작품 「oraange」는 캔버스 측면(=바깥 가장자리)까지 그림이 이어져 있어, 일반 액자에 넣으면 보이지 않는 부분이 생기기 때문입니다. 측면까지 포함해 전체를 보여 줄 방법을 검토한 결과 「박스 프레임(각상자)」에 입체 액장하기로 했습니다.
구입처는 저렴함과 빠름으로 유명한 「가쿠노 마쓰에다」로 정했습니다. 자주 가는 매장보다 30~40%나 저렴해 그야말로 알뜰합니다.주문한 당일에 발송해 주었습니다.액자도 구입 후 2일 만에 도착했습니다. 「가쿠노 마쓰에다」는 일 처리가 빠르고 믿음직한 가게입니다.
액장 시작
자, 「직접 액장」의 시작입니다. 이번의 핵심은 작품의 고정 방법입니다.
1) 측정
고정판과 캔버스 각각의 크기를 확인하고 나사를 넣을 위치를 정합니다. 캔버스와 보드를 몇 번이고 확인하며 신중히 진행합니다.직각자가 있으면 편리합니다.만약을 위해 작품과 고정용 보드의 관계를 메모로 정리해 실수가 없도록 합니다.메모해 두면 이미지를 확인할 수 있습니다.나사 위치도 캔버스 천에 걸리지 않는 자리로 잡았습니다.
2) 고정판에 표시하기
이번에는 액자 색이 검정이라 고정판 앞면도 검정. 표시가 잘 나지 않아 애를 먹었습니다. 초크펜 같은 것을 썼어도 좋았을지 모릅니다.정확히 표시해 어긋나지 않도록.
3) 나사 넣기
작품 위에 고정용 보드를 올리고 나사를 넣어 갑니다. 어긋나지 않도록 양면테이프 등으로 고정하는 방법도 있다고 합니다. 여기가 가장 신중해야 합니다!이번에는 나사 4개를 사용했습니다. 작품 크기에 따라 개수를 늘리거나 줄여도 좋습니다.
4) 확인
나사를 다 넣으면 제대로 고정되었는지? 좌우와 상하 균형도 확인합니다.확인 또 확인…만약을 위해 액자에 넣어 확인합니다. 의도한 대로 비스듬히 옆에서 봐도 바깥 가장자리가 보이도록 설치되었습니다.어긋나지 않았는지 신중히…
5) 액자에 넣기
보드에 제대로 고정되면 액자에 넣습니다. 아크릴판 양면의 보호 필름을 벗깁니다. 이때 먼지가 들어가지 않도록 주의합니다. 아크릴판을 제자리에 되돌리고 작품을 넣은 뒤 뒤판을 닫으면 완료입니다.
6) 끈 묶기
액자에 넣기를 마치면 액자 뒤쪽의 끈을 묶습니다. 끈 묶는 법은 이 영상이 참고가 되었습니다.
https://youtu.be/Arypb0OjSTQ
완성!
완성입니다!
무사히 액자 넣기를 마쳤습니다.액자에 넣으니 작품이 확 살아나는 것이 느껴집니다.
정리
늘 남에게 맡기던 액자 작업이지만 직접 해 보니 꽤 손이 많이 가면서도 성취감이 있어 만족도도 상당합니다. 비용 면에서도 화방 수수료를 아끼고, 액자도 온라인으로 저렴하게 들일 수 있었습니다.