Displaying a painting in a room changes the atmosphere at once. A daily life with art adds color to living. On this site, too, I’ve delivered various ways to display art and recommended items. This time, I’d like to deliver a way to solve an“easily overlooked blind spot”when displaying a frame.
The easily overlooked blind spot is “the problem that when you hang a frame on a wall, it ends up slightly bowing forward.”
Whether hanging with wire or hooking the frame with something like Kabe Bijin, it’s a problem that structurally always occurs.
Since it’s a common sight even in galleries, I too had taken this state as “unavoidable and normal.”
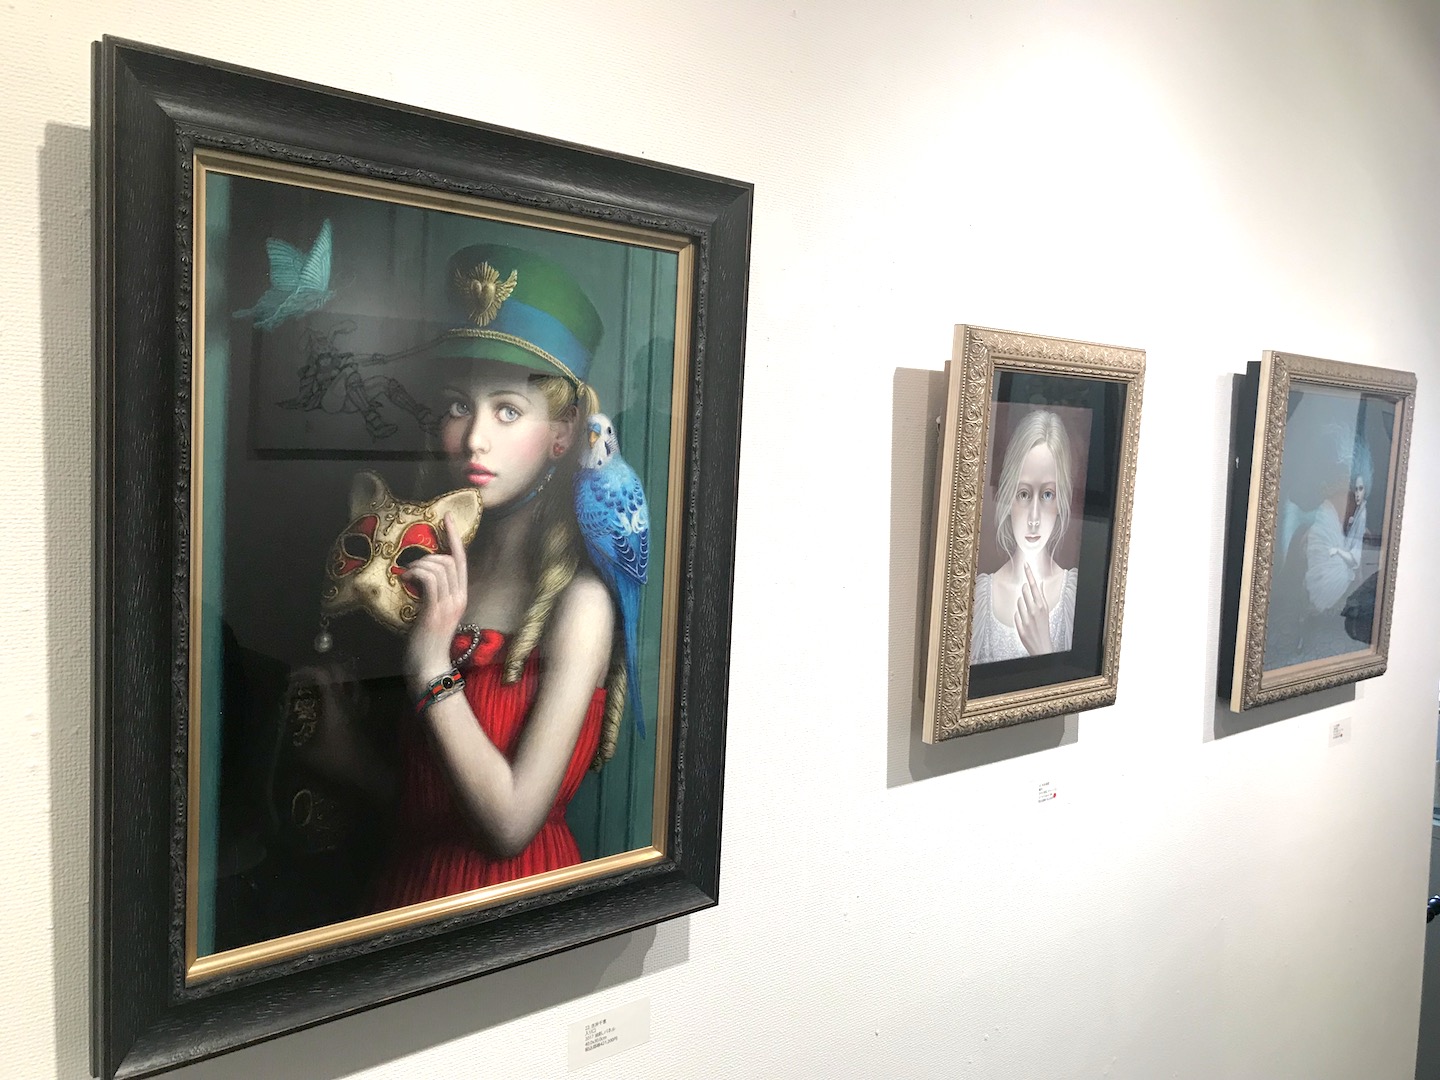
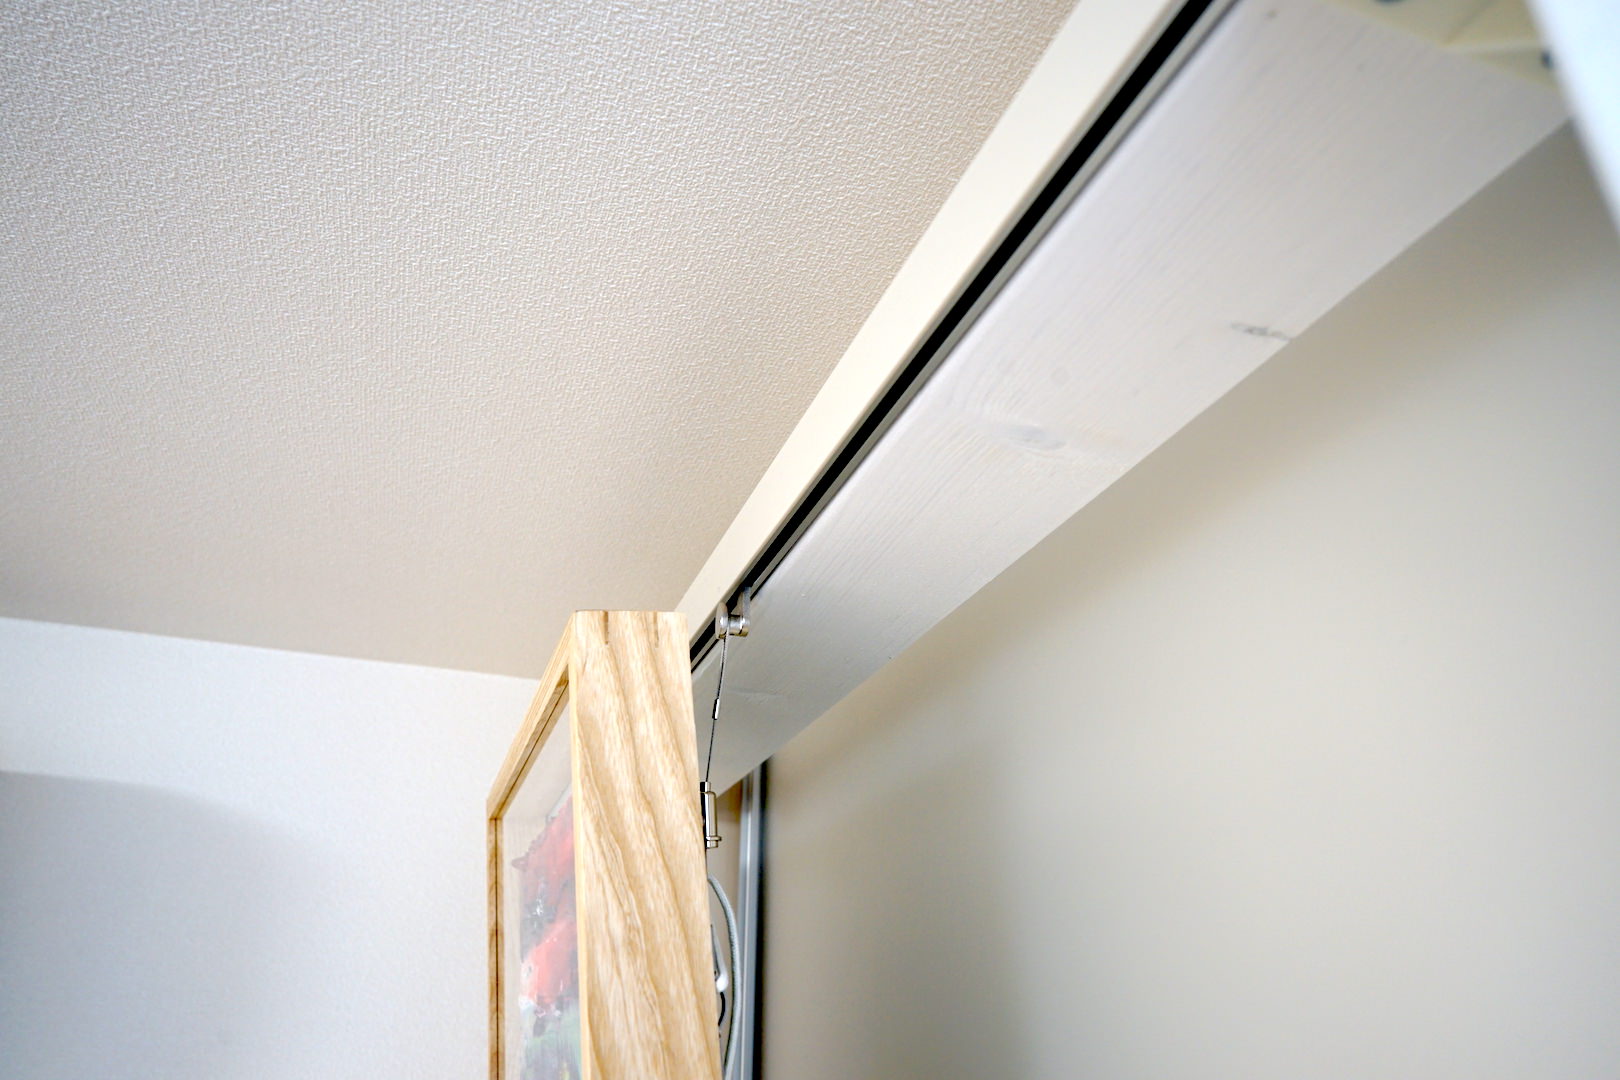
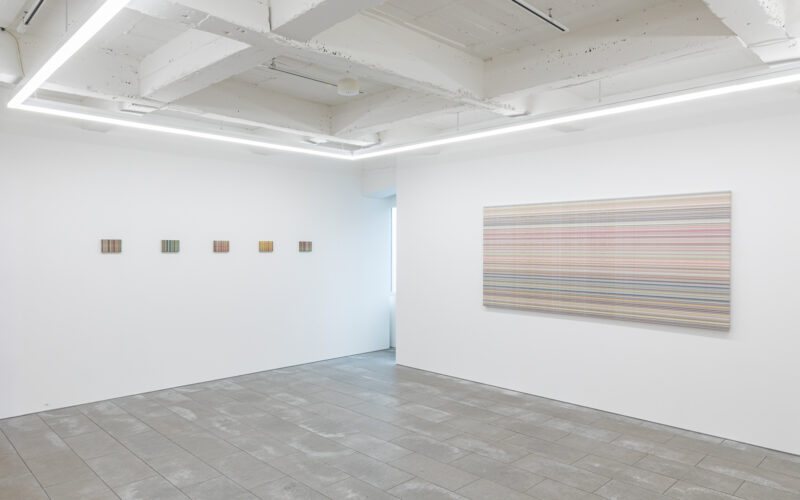
From the “Bijinga Borderless” exhibition (Miura Jiro Gallery). Without back rubbers, the works are bowing forward.
Framing shops
Until now I’ve had works framed at several galleries and specialty frame shops.
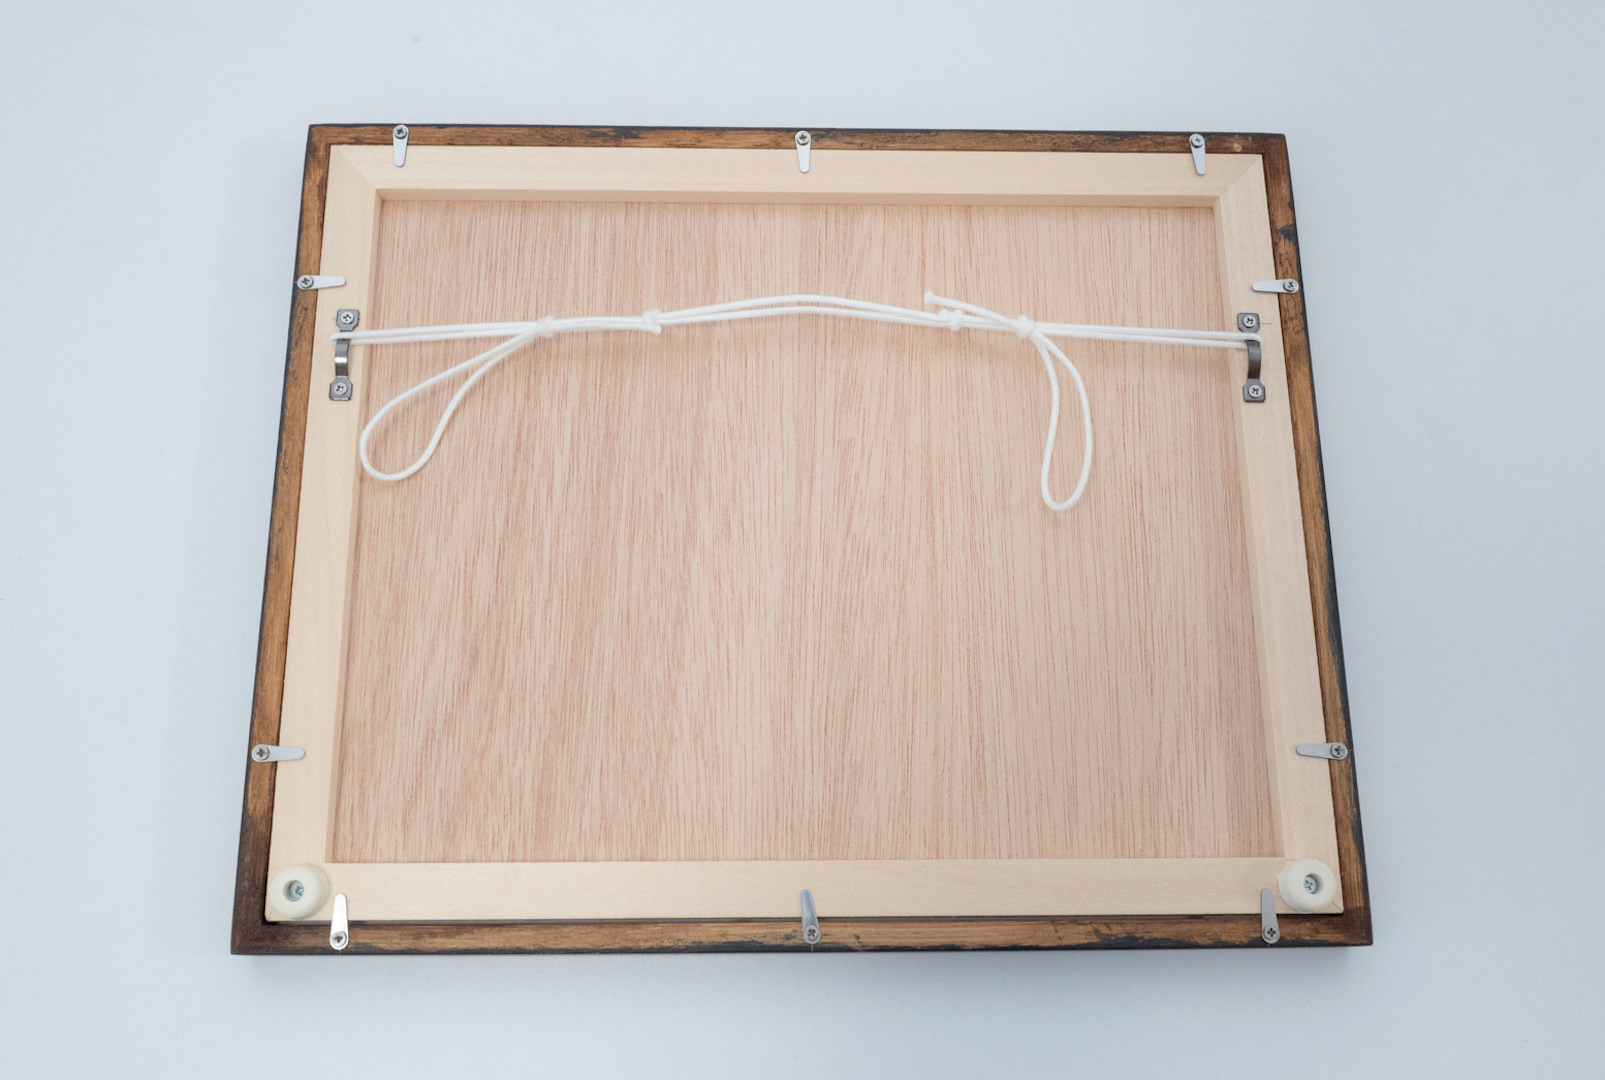
When I asked a shop I’ve been going to recently to do the framing, even though I hadn’t requested it, it came backwith back rubbers attached. This surprised me.
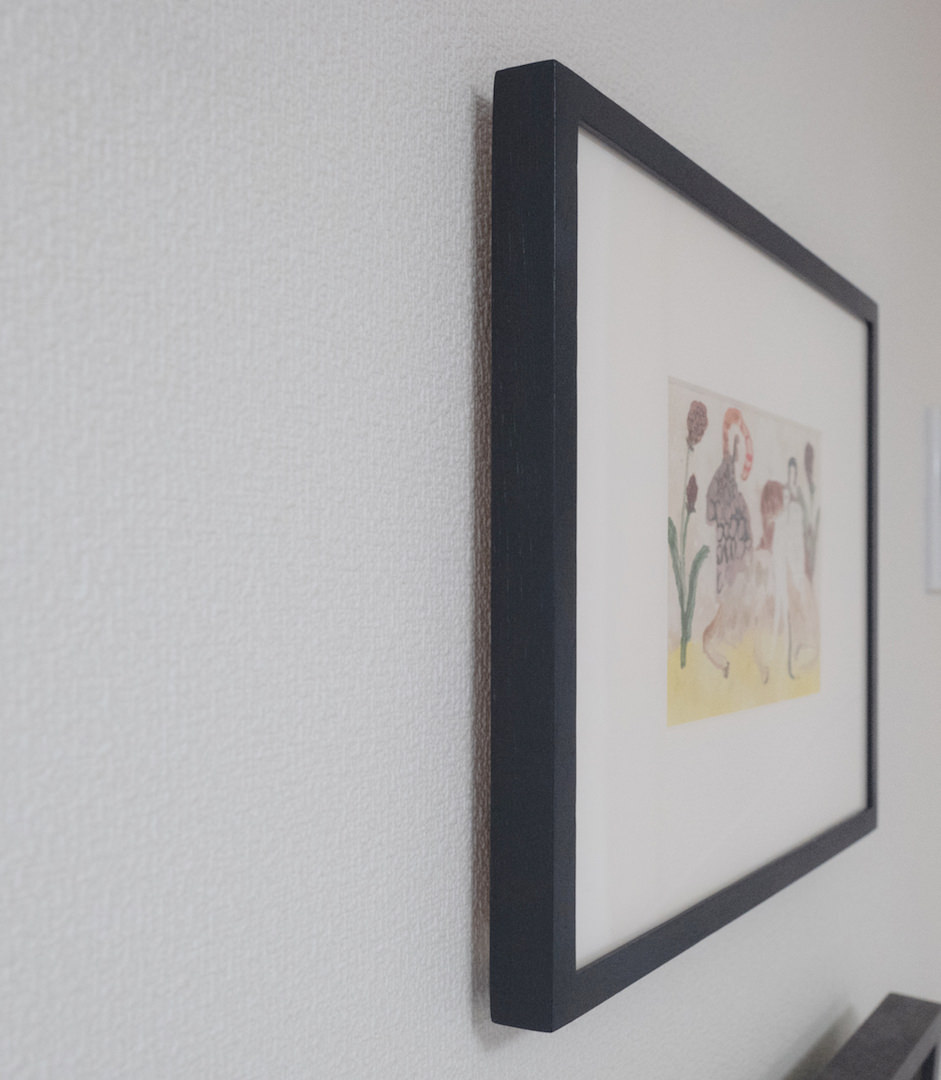
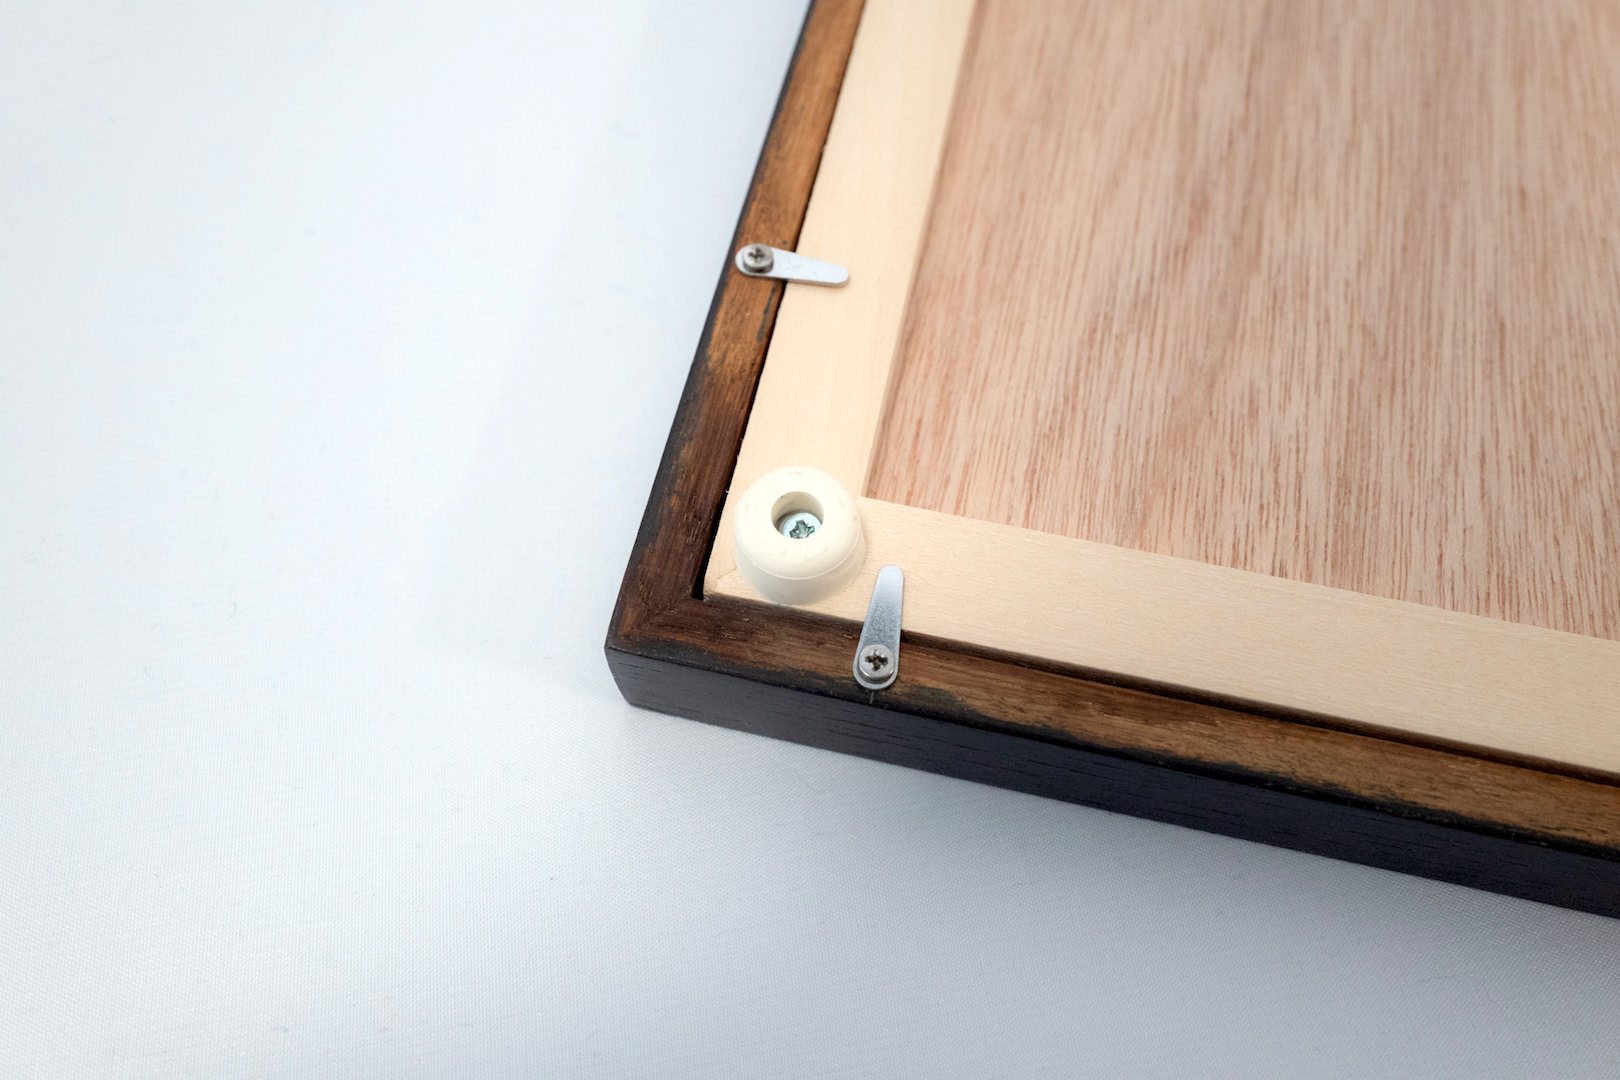
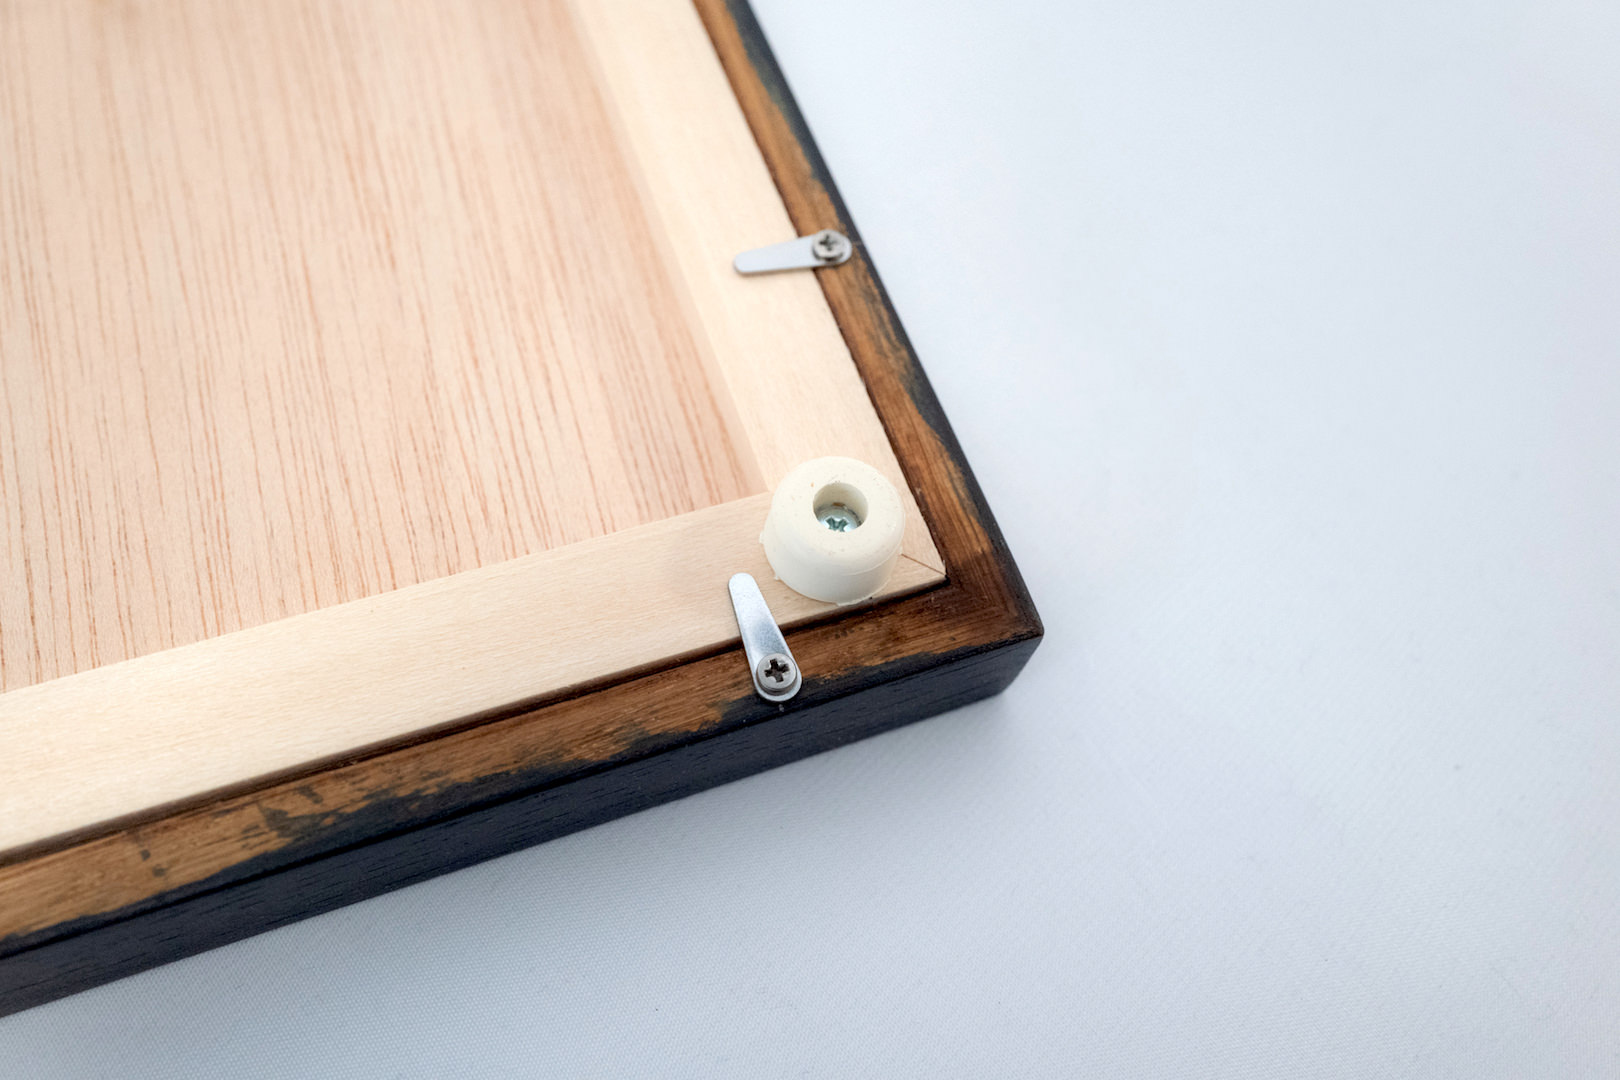
Just attaching two back rubbers made it adhere snugly to the wall, corrected the frame to vertical, and let it face the work squarely. My impression is the work stands out much better. *The work is byKosuke Ajiro.
The back rubbers are attached in a position not visible from the side either.
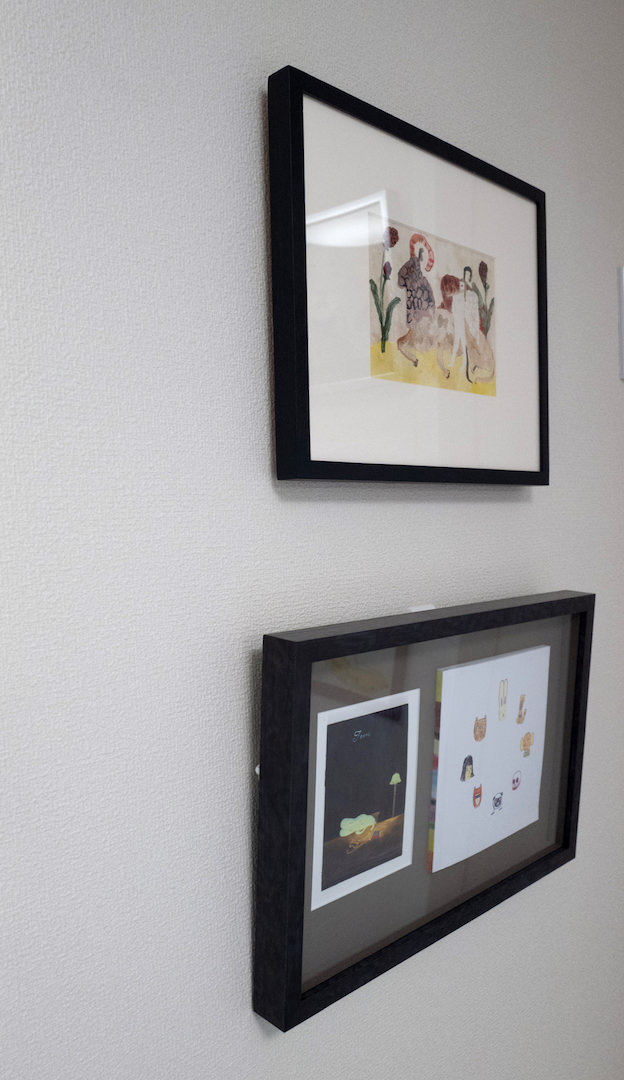
The photo below compares a work with back rubbers and one without. You can see the appearance clearly differs.
Top: framed work with back rubbers Bottom: without back rubbers (work byAtsushi Kaga)
Merits of attaching back rubbers
I’ve written out the merits of attaching back rubbers.
The frame fits snugly against the wall, changing to a clean, tidy impression.
The work stands vertical, and its visibility improves.
A certain gap opens behind the frame, improving airflow, which leads to reduced humidity.
As with “3,” dust is less likely to collect.
It also helps protect the wall.
The “back rubber” is a small presence, but it has various elements that lead to good points!
This site recommends back rubbers, but for those who oppose them—“I don’t want to make holes in the frame” or “attaching them is a hassle”—there is another method.
Methods other than back rubbers
Here, I’d like to introduce a method other than back rubbers. It’s a method of inserting something at the lower back of the frame.
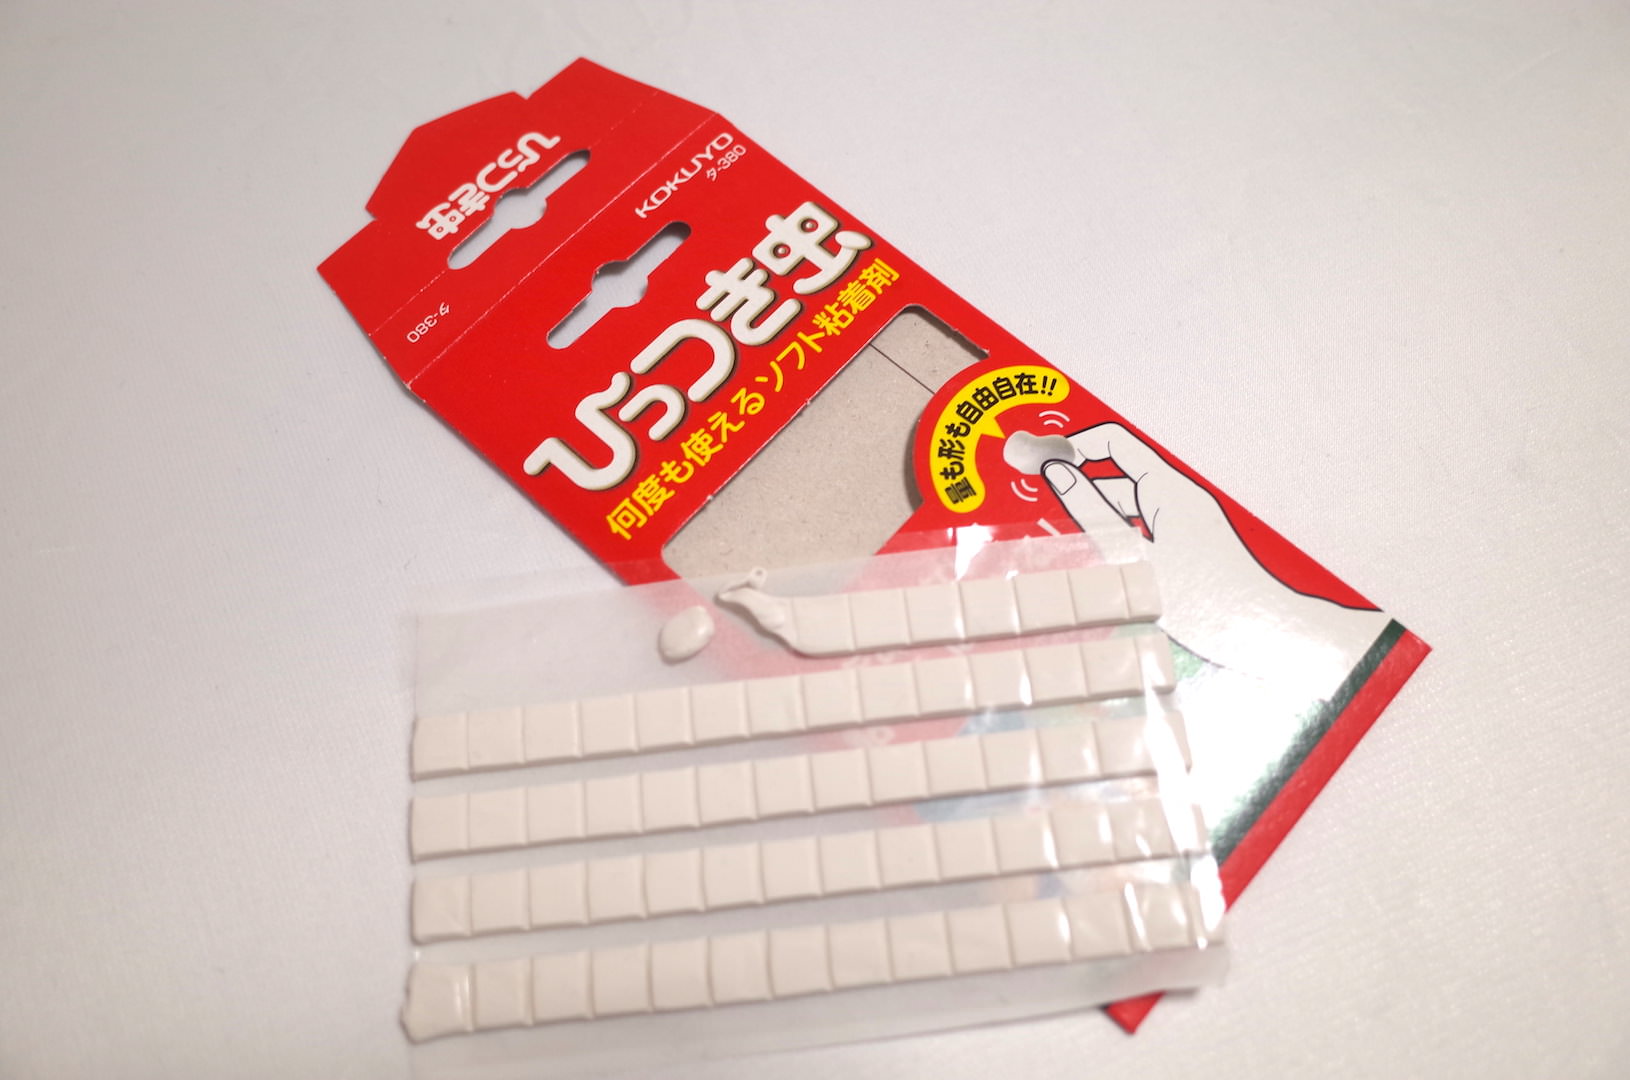
The bur@rt (“Buratto Art”)-style recommended method, which we’ve introduced before, is a method that utilizes “Hittsuki-mushi” (reusable adhesive putty).
https://burart.jp/postcard-management/
“Hittsuki-mushi”—you take just the amount you need, adjust the quantity, and attach it to the back of the frame as a substitute for rubber feet. This method needs no screws and doesn’t damage the frame.
One point to note is that the “oil” in Hittsuki-mushi may transfer to the frame or wall. Also, since the adhesion isn’t stable, there’s a chance it may have fallen off before you notice. Even if it’s a hassle, I’d like to use “back rubbers” as much as possible.
Summary
How was it?
It’s a small extra step, but back rubbers alone will greatly boost a frame’s presence. It’s a framing method with a big effect for a slight investment.
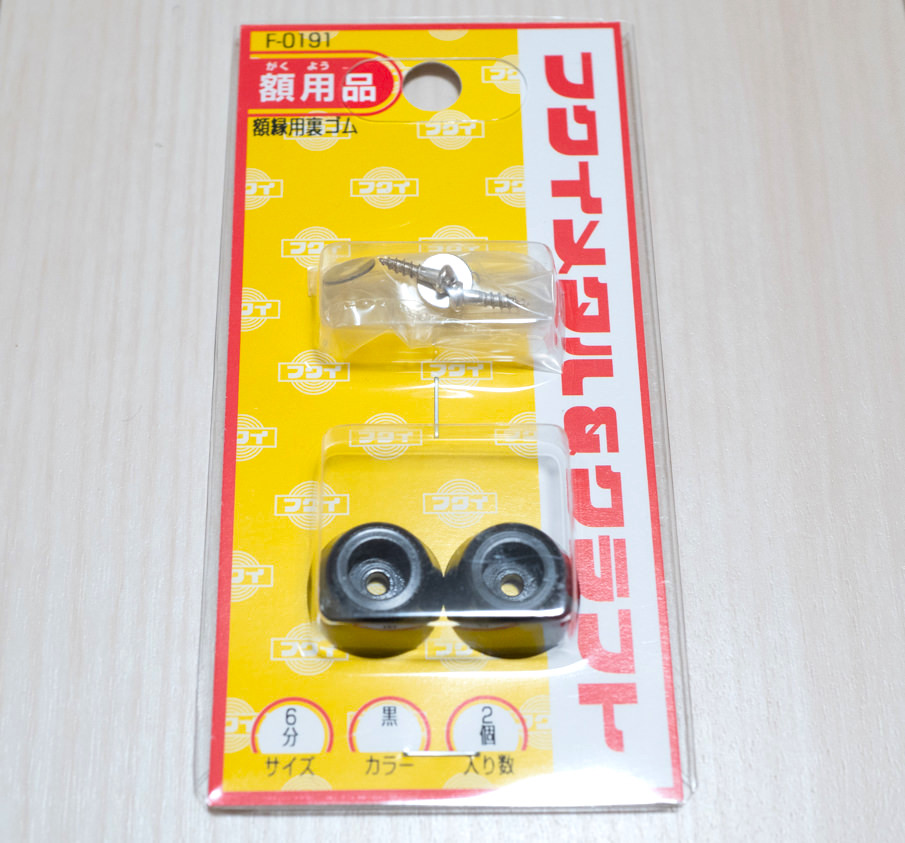
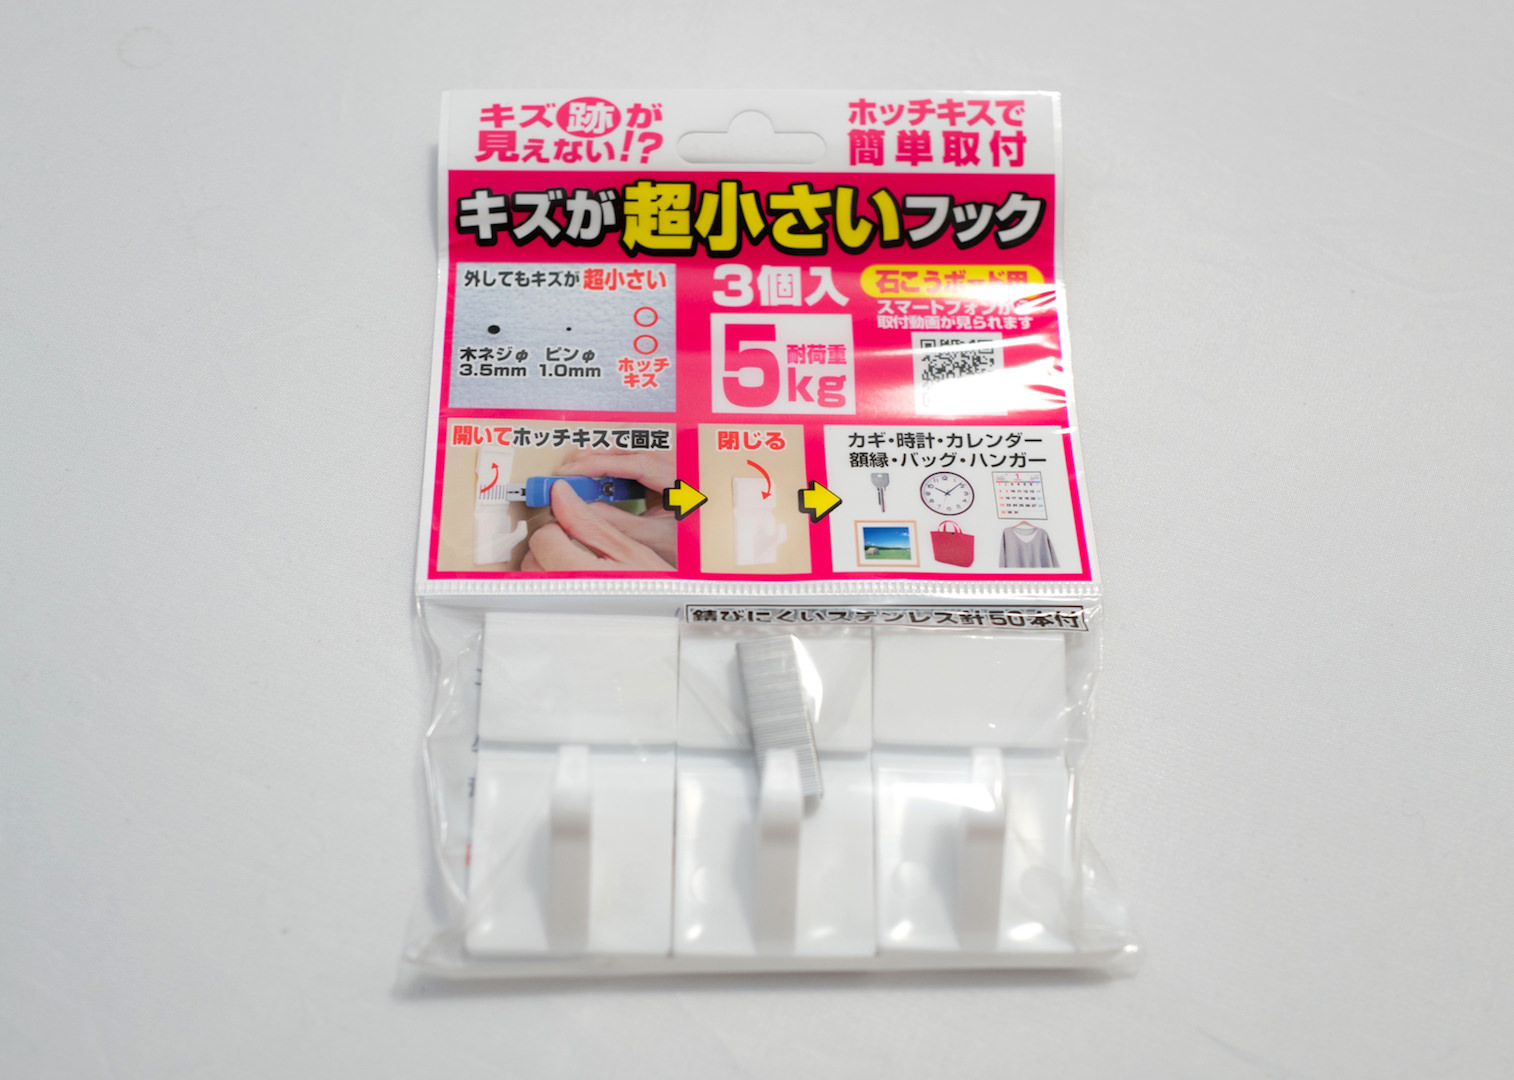
There’s a black version too.
When holding a solo exhibition at a gallery, isn’t this a point the exhibiting artist should also watch out for? Since few artists do their own framing, I feel many don’t pay much attention. When a work is bowing forward, it often doesn’t look clean, so why not consider consulting with the gallery?
회화 작품 등을 방에 장식하면 분위기가 단숨에 바뀌어 갑니다. 아트가 있는 일상은 생활에 색채를 더해 줍니다. 본 사이트에서도 다양한 형태로 아트 작품을 장식하는 방법과 추천 아이템을 전해 왔습니다. 이번에는 액자를 장식할 때「놓치기 쉬운 맹점」을 해결하는 방법을 전해 드리고자 합니다.
놓치기 쉬운 맹점이란, 「액자를 벽에 걸면 약간 앞으로 숙인(절하는)형태가 되는 문제」입니다.
와이어로 매달든, 가베비진 등의 후크로 액자를 걸든, 구조적으로 반드시 생기는 문제입니다.
갤러리에서도 흔히 볼 수 있는 광경이라, 필자도 이 상태를 「어쩔 수 없는 상태로 당연」하다고 여기고 있었습니다.
「미인화 보더리스전」(미우라 지로 갤러리)에서. 뒷고무가 없어 작품이 앞으로 숙여 있네요.
액자점
지금까지 여러 갤러리와 액자 전문점에서 작품을 액자에 넣었습니다.
최근 다니는 가게에 액자를 부탁했더니, 이쪽에서 부탁하지도 않았는데뒷고무를 붙여완성되어 왔습니다. 이것에는 놀랐습니다.
뒷고무를 2개 붙이는 것만으로 벽에 딱 밀착되어, 액자가 수직으로 교정되고, 작품과 정면으로 마주할 수 있게 되었습니다. 작품이 부쩍 돋보이게 된 인상입니다. ※작품은아지로 고스케의 작품입니다.
뒷고무는 옆에서도 보이지 않는 위치에 부착되어 있습니다.
아래 사진은 뒷고무를 붙인 작품과 붙이지 않은 상태의 작품 비교입니다. 확연히 보이는 방식이 달라지는 것을 알 수 있습니다.
본 사이트로서는 뒷고무를 추천하지만, 「액자에 구멍을 내고 싶지 않다」거나 「부착이 번거롭다」 등 뒷고무 부정파인 분에게는 다른 방법도 있습니다.
뒷고무 이외의 대처법
여기서는 뒷고무 이외로 대처하는 방법을 소개하고자 합니다. 액자 뒷면 하부에 무언가를 끼워 대처하는 방법입니다.
bur@rt「부랏토 아트」적인 추천 방법은 이전에도 소개한, 활용하는 「힛쓰키무시(Hittsuki-mushi, 재점착 퍼티)」 방법입니다.
https://burart.jp/postcard-management/
「힛쓰키무시」를 필요한 만큼만 손에 들고, 필요량을 조정하면서 액자 뒤에 부착해 고무발의 대체로 삼는 방법입니다. 이 방법이라면 나사가 필요 없고, 액자를 손상시키지도 않습니다.
다만 이때 주의하고 싶은 점은 힛쓰키무시의 「유분」이 액자나 벽에 옮겨 붙을 우려가 있다는 점입니다. 또한 접착이 안정적이지 않아 어느새 떨어져 있는… 그런 가능성도 있습니다. 번거롭더라도 가능한 한 「뒷고무」를 사용해 가고 싶네요.
정리
어떠셨나요?
작은 수고이지만, 뒷고무만으로 액자의 존재감이 부쩍 올라갈 것입니다. 약간의 투자로 효과가 큰 액자 방법입니다.
검은색 버전도 있습니다.
갤러리에서 개인전을 개최할 때에는, 전시하는 작가님도 주의하고 싶은 포인트가 아닐까요? 액자를 하는 작가가 적어서 그다지 신경 쓰지 않는 분이 많은 것 같습니다. 작품이 앞으로 숙인 상태이면 작품이 깔끔하게 보이지 않는 경우가 많으니, 갤러리와 상담하는 등 검토해 보시는 건 어떨까요?